React Context API Guide: Master State Management
Hey there, fellow self-taught developer! Have you ever built a React app and felt like you were passing data down, down, and further down through components, just to get it where it needed to be? It’s like playing a game of “telephone” with your data. You’re not alone! This common frustration has a brilliant solution. We’re talking about React’s Context API. This ultimate React Context API guide will help you understand it completely. You’ll master sharing state across your entire application.
What Exactly is React’s Context API?
Okay, let’s get straight to it. Imagine your React application as a bustling city. You have different buildings, which are your components. Sometimes, you need to share important information, like the city’s weather forecast, with many buildings. You wouldn’t send a messenger to each individual building, right? That would be crazy inefficient.
Instead, you’d put the weather forecast on a giant billboard. Everyone in the city can see it. That billboard is essentially what React’s Context API does. It provides a way to share data globally across your component tree. This means you don’t have to manually pass props at every level. It’s a lifesaver for managing global state. State refers to data that can change over time within your application.
Basically, Context offers a direct highway for information. You create a central store of data. Then, any component can access that data directly. No more middlemen! This simplifies your component structure a lot. It makes your code cleaner and easier to manage. You will find it invaluable.
Why This React Context API Guide Matters to You
You’ve likely encountered “prop drilling.” Sound familiar? It’s when you pass data from a parent component down to many nested child components. Often, intermediate components don’t even use that data themselves. They just pass it along. It’s like a postman delivering a letter, but instead of going directly, he hands it to five neighbors first. Each neighbor then hands it to the next. What a hassle!
This process can make your code very messy. It’s hard to track where data comes from. Changing data becomes a chore. You have to update many components. It increases the complexity of your application. This is especially true for data needed by many different components, like user authentication status or your app’s theme.
Context API solves this pain point beautifully. It allows you to “broadcast” data. Any component that needs it can just “tune in.” You define the data once. Then, you make it available to all “subscribers.” This eliminates prop drilling completely. It leads to more maintainable and readable code for you. Want a deeper dive into prop drilling and how it complicates things? Check out our article on React Prop Drilling: A Component Tree Visualization. It shows you exactly what it looks like.
How React Context API Works its Magic (Provider & Consumer)
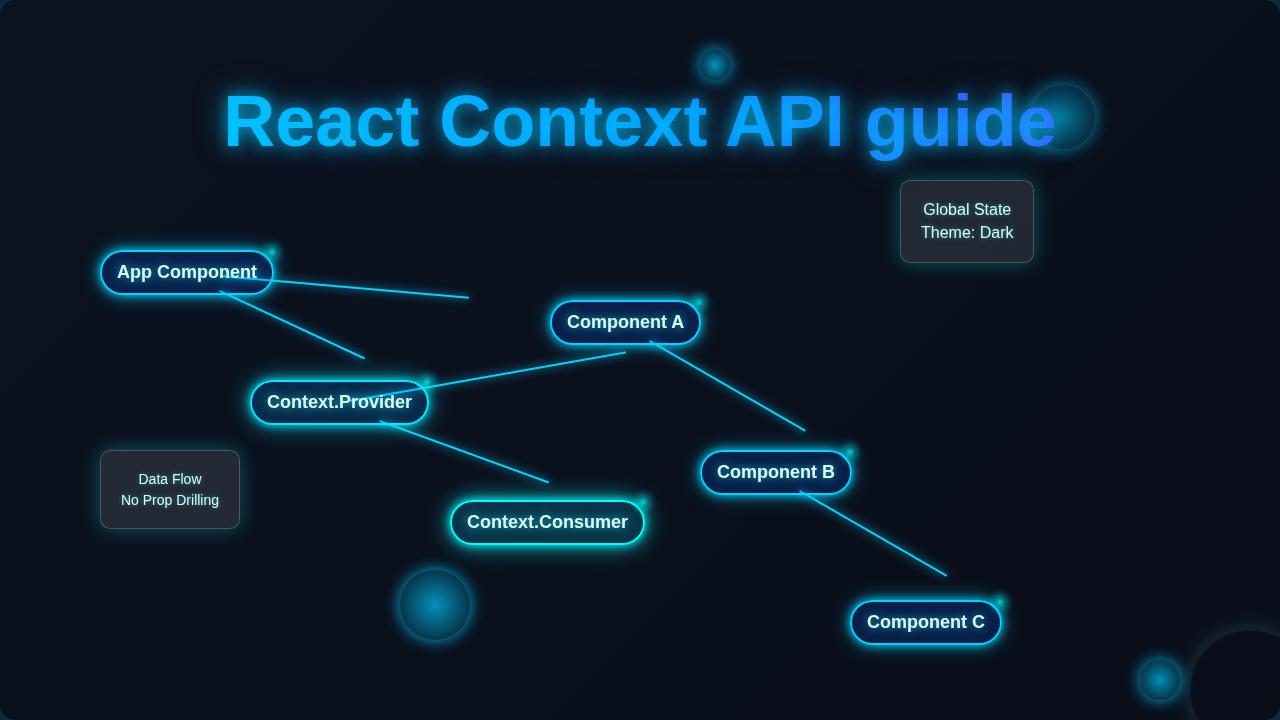
So, how does this “billboard” or “broadcast” system actually work? It involves two main players: a Provider and a Consumer. Think of it like this: The Provider is the one putting the message on the billboard. The Consumer is anyone who reads the message from that billboard. They work together seamlessly.
First, you create a Context. This is like setting up the empty billboard. You tell React, “Hey, I’m going to share some stuff here.” Then, you need a Context Provider. This component wraps around the parts of your app that need access to the data. It’s literally a component that “provides” the value. You pass the actual data you want to share into this Provider component as a “value” prop. So, if your data is “user logged in,” the Provider supplies that information. All components within the Provider’s reach can then access it. It effectively creates a scope for your data.
Next, you have the Context Consumer. This is any component within the Provider’s scope that needs the data. It “subscribes” to the context. When the data in the Provider changes, all connected Consumers will automatically re-render. They get the updated information. You don’t need to pass props down manually. This is where the magic truly happens. For a more detailed look at how context and components interact, you might find this explanation on understanding “this” in JavaScript helpful. It clarifies conceptual boundaries, even though it’s not directly about Context. This interaction is key to understanding this React Context API guide.
Pro Tip: Use Context for truly global or application-wide data. Don’t overuse it for data that only a few closely related components need. Simpler prop passing is fine for those cases.
Clearing Up Common React Context API Confusion
You might be thinking, “This sounds amazing! Should I use it for everything?” Hold on a second. While Context is powerful, it’s not a silver bullet. You shouldn’t replace all your props with Context. Remember, it’s for global state, not every piece of data. If only a few components need some data, passing props is still often simpler. Overusing Context can make your component tree less clear. It can sometimes introduce unnecessary re-renders, too.
Another common point of confusion is re-renders. When the value passed to a Context Provider changes, all components consuming that context will re-render. This happens even if the part of the value they use hasn’t changed. This can sometimes lead to performance issues. You need to be mindful of what data you put into context. Only include truly stable or critical global data. You can optimize this by splitting contexts or using memoization techniques.
Also, don’t confuse Context API with state management libraries like Redux or Zustand. Context provides a mechanism for sharing state. It doesn’t offer a complete state management solution with built-in tools for actions, reducers, or middleware. It’s a foundational piece. You can build your own state management on top of it. Or you can combine it with the useState and useReducer hooks. This gives you immense flexibility. If you’re building a component that needs to dynamically adjust its size based on context or other state, our guide on React Element Size Hook: A Comprehensive Tutorial with JSX for Dynamic UIs could be a useful next read.
Remember: Context is for sharing “global” data. It’s not a universal replacement for component state or props for localized data flow.
Key Takeaways from Your React Context API Guide
Let’s recap what you’ve learned. The React Context API is a powerful tool. It lets you share data across your component tree without prop drilling. You use a Provider component to make data available. Then, Consumer components access that data directly. This makes your code much cleaner. It improves maintainability. You avoid those long chains of props.
However, use it wisely. It’s best for truly global data, like themes, user authentication, or language settings. Avoid it for localized component data. Be aware of potential re-renders. Plan your context structure carefully. You’ll find it incredibly useful once you grasp these concepts. It opens up new possibilities for structuring your applications effectively. Moreover, understanding this fundamental concept is crucial for building scalable React applications.
For more advanced patterns and to see Context in action with complex scenarios, like handling dynamic data loading, you might explore how it integrates with hooks. Learn more about advanced React patterns, including how to handle large datasets effectively, by looking at articles such as in-depth guides on CSS-Tricks to complement your React knowledge, especially when thinking about how content will be displayed after Context provides it. Or, if you are looking to combine Context with other powerful hooks for dynamic data loading, check out our guide on React Infinite Scroll: Build Seamless Data Loading with JSX Hooks.
Your Context Journey Starts Now!
You’ve now got a solid understanding of React’s Context API. This wasn’t just a theoretical dive. You learned what it is, why it’s a game-changer for you, and how it actually works. You also cleared up some common misunderstandings. You are now equipped to tackle state management challenges more elegantly.
Go ahead and try it in your next project! Start small. Experiment with a simple theme toggle or a user authentication context. You’ll see how quickly it simplifies your component structure. You’ve got this. Keep building. Keep learning. The world of React is vast, and you’re making excellent progress!