Hey there, fellow web adventurer! Ever felt like your CSS styles were playing a game of hide-and-seek you never agreed to? You add a style, expecting it to work, but something else always seems to win. It’s like battling invisible forces, right?
You’ve probably been there: ripping your hair out, wondering why a simple class isn’t doing what you told it to. You inspect, you debug, and you find a rogue style winning due to some arcane specificity rule. It’s a classic frontend frustration!
But what if I told you there’s a new superpower in CSS, a way to declare your style intentions so clearly that even the trickiest specificity issues bow down? Enter CSS Cascade Layers. This incredible feature lets you organize your styles into distinct, ordered buckets. You decide which bucket gets priority, no matter how specific the selectors inside are. It’s a game-changer for managing your stylesheets, making them predictable and sane.
Unraveling Specificity: Why We Needed CSS Cascade Layers
For years, CSS has relied on a system called “specificity” to determine which styles apply. Basically, if two rules try to style the same element, the more “specific” rule wins. An ID selector is more specific than a class. A class is more specific than an element tag. It gets complex fast, doesn’t it?
This system, while foundational, often leads to what we call “specificity nightmares.” You end up writing overly complex selectors or using !important to force styles, creating brittle and hard-to-maintain code. You might override a theme style, only to find it breaks something else downstream. It’s a never-ending cycle of fixes and regressions.
Core Concepts of CSS Cascade Layers: Your New Specificity Tool
Imagine your CSS isn’t just one big pile, but a set of neatly organized, transparent folders. Each folder contains a specific type of style. CSS Cascade Layers give you exactly that control. Here’s how you can start mastering them today:
-
1. What Are CSS Cascade Layers, Anyway?
Think of CSS Cascade Layers as distinct levels in your stylesheet’s hierarchy. You can put all your base styles in one layer, your component styles in another, and your utility styles in a third. The cool part is, the order you define these layers dictates their power.
“CSS Cascade Layers let you stack your styles like transparent sheets. Styles on higher sheets always win, regardless of how ‘specific’ a selector might be underneath.”
For instance, imagine you have a default button style. Then, in a higher-priority layer, you define a specific primary button color. The layer order ensures your primary button color always applies, even if the default button style had a more complex selector. You’re in charge now!
-
2. Defining Your Layers: Simple and Clear
Declaring layers is super straightforward. You use the
@layerrule at the top of your CSS file or within an@importstatement. You can name your layers anything you want. It’s like naming your organizational buckets.You might start with a broad definition like
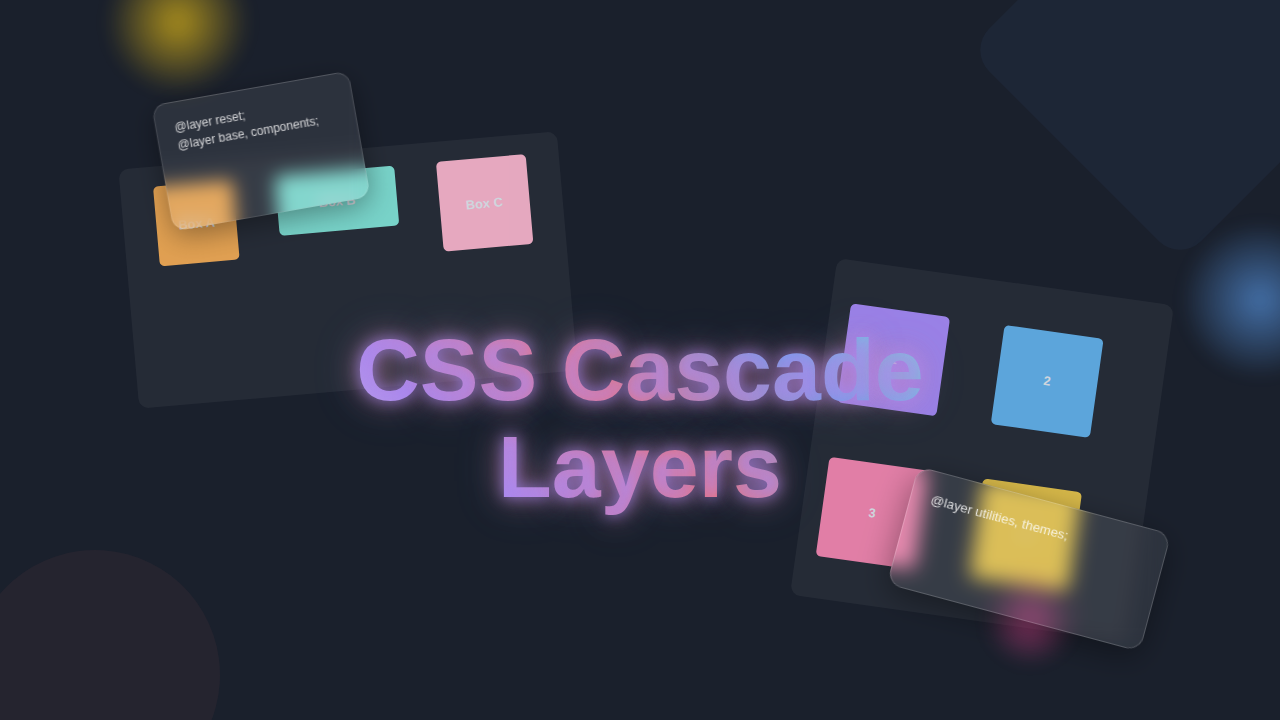
@layer reset, base, components, utilities;This sets up your main layers right away. Each keyword represents a layer you will fill with styles. You are giving your stylesheet a clear blueprint.An example: Your first layer,
reset, might strip away browser default styles. Then,basedefines global typography and color variables. Next,componentsholds styles for things like cards or navigation bars. Finally,utilitiesmight have small, single-purpose classes. -
3. Styles Within Layers: How They Work
Once you define a layer, any CSS rule you place inside it belongs to that layer. You can wrap blocks of CSS directly within an
@layerrule. It keeps everything neat and contained. This approach makes your intentions crystal clear.So, you could have
@layer components { .card { /* card styles */ } }. This means all.cardstyles are firmly inside yourcomponentslayer. When the browser processes your CSS, it first considers the layer order, then specificity *within* that layer. But the layer order is the dominant factor.For example, if your
baselayer hasa { color: blue; }and yourcomponentslayer has.nav-link { color: red; }, andcomponentscomes afterbasein your layer order, the.nav-linkwill always be red. Its layer wins, not just its specificity against a simpleatag.
Mastering Layer Order: The Secret Sauce of CSS Cascade Layers
-
4. Explicit Layer Ordering: The Ultimate Control
The order you define your layers in the initial
@layerdeclaration is crucial. Styles in later-declared layers always win over styles in earlier ones. This is the core magic!You might declare
@layer framework, base, components, utilities, overrides;here,frameworkstyles would be the least powerful. Thenbasestyles would override framework styles. Ultimately,overrideswould have the final say. This gives you unparalleled control over the cascade, far beyond traditional specificity. You are literally telling the browser, “This layer is more important than that one.”For instance, if your
frameworklayer styles a button, but yourcomponentslayer has a different button style, thecomponentsstyle will prevail. Why? Because you declaredcomponentsafterframework. No more fighting with tricky third-party CSS! -
5. Importing Styles into Layers: Seamless Integration
You can also import external stylesheets directly into a specific layer. This is incredibly powerful for integrating third-party libraries or modular CSS. It keeps your external styles contained and predictable.
Imagine using
@import 'third-party-ui.css' layer(vendor);. This places all the imported styles within yourvendorlayer. Then, you can explicitly order yourvendorlayer before yourcomponentslayer. This means your own custom component styles can easily override vendor styles without a specificity battle.You can find more detailed examples on how to manage CSS imports and layers. This strategy simplifies managing large projects or design systems.
-
6. Unlayered Styles: Still the VIPs (Mostly!)
Here’s an important nuance: any CSS rules defined *outside* of any
@layerblock are considered “unlayered.” These unlayered styles have a very high priority. They will override any layered styles, even if the layered style is in the last-declared layer. It’s like they have a VIP pass.So, a rule like
.hero-title { font-size: 3rem; }placed at the root of your stylesheet will win over a.hero-titleinside any@layer. However,!importantstill wins over everything. This behavior is by design, letting you quickly apply overrides when truly needed without complicating your layer structure. This is also where understanding how CSS Grid and Flexbox layouts complement each other becomes crucial, as layout properties often interact with your layered components.
Advanced Techniques and Best Practices for CSS Cascade Layers
-
7. The
revert-layerKeyword: Undoing in StyleSometimes you want a style to revert to what it was in a *previous* layer. The
revert-layerkeyword lets you do just that. It’s incredibly useful for creating flexible and adaptable components.For instance, your
baselayer sets a default button background. Then, yourthemelayer sets it to a specific brand color. But for a special “danger” button, you want it to go back to thebasestyle, ignoring thetheme. You can use.danger-button { background-color: revert-layer; }in a higher layer, likeutilities. This ensures the button gets the original background from yourbaselayer, bypassing thetheme. You can dive deeper into its uses with resources like CSS-Tricks’ guide on revert-layer.
Bonus Tip: Integrate with Design Systems for Maximum Impact
CSS Cascade Layers truly shine when integrated into a structured design system. You can define specific layers for different parts of your system: your design tokens, your global styles, your individual components, and then specific utility classes. This brings order to what can often be a chaotic collection of styles.
Imagine your base layer defining all your CSS custom properties for theming, like colors and fonts. Then your components layer uses those variables to style your buttons and cards. Your utilities layer provides small helper classes. This organized approach creates an incredibly predictable and scalable styling architecture. You empower your entire development team with clear rules.
The Future is Layered: Embracing CSS Cascade Layers
Ultimately, CSS Cascade Layers are a monumental leap forward for managing complex stylesheets. They shift the power from fighting specificity to explicitly declaring your stylistic intent. You no longer have to guess why a style is or isn’t applying. You control the narrative.
Start experimenting with them in your next project. Define your base styles, then your components, and see how much cleaner and more predictable your CSS becomes. You’ll finally have that responsive navbar or intricate layout behaving exactly as you expect, every single time. Happy styling, and remember: you’ve got this!