Okay, real talk — when you first started crafting websites, did you ever stare at your screen, totally baffled? You changed a color, added a margin, or tried to center something. You wrote the CSS. You saved the file. But nothing happened. Your beautiful website just stubbornly ignored you. Sound familiar? You’re definitely not alone.
It’s like your CSS has a mind of its own. You tell it to be blue, but it insists on staying red. This head-scratching moment is a rite of passage for every new web developer. And often, the silent culprit is something called the CSS cascade and, more importantly, CSS Specificity Explained.
Think of your CSS as a set of instructions. But what happens when you have multiple instructions telling the same element to do different things? That’s where the CSS Cascade comes in. The cascade is a fancy word for how your browser decides which styles to apply when there are conflicting rules. It’s like a strict decision-making process.
Then, there’s specificity. This is the ultimate tie-breaker. It’s a scoring system that gives certain CSS rules more ‘weight’ or ‘importance’ than others. It decides which style wins the battle. You see, your browser isn’t just picking randomly.
CSS Specificity Explained: The Style VIP System
So, how does this ‘weight’ system actually work? Imagine you’re at a really popular restaurant, and everyone wants a table. Some people just walk in. Others made a regular reservation. A few might have a special ‘VIP’ pass. And then there’s the owner’s family – they definitely get seated first.
That’s a bit like CSS Specificity Explained. Your browser gives different types of CSS selectors a ‘score’. The higher the score, the more ‘specific’ the rule is, and the more likely it is to be applied. It’s all about who has the most exclusive pass.
There are a few main categories that give your styles points:
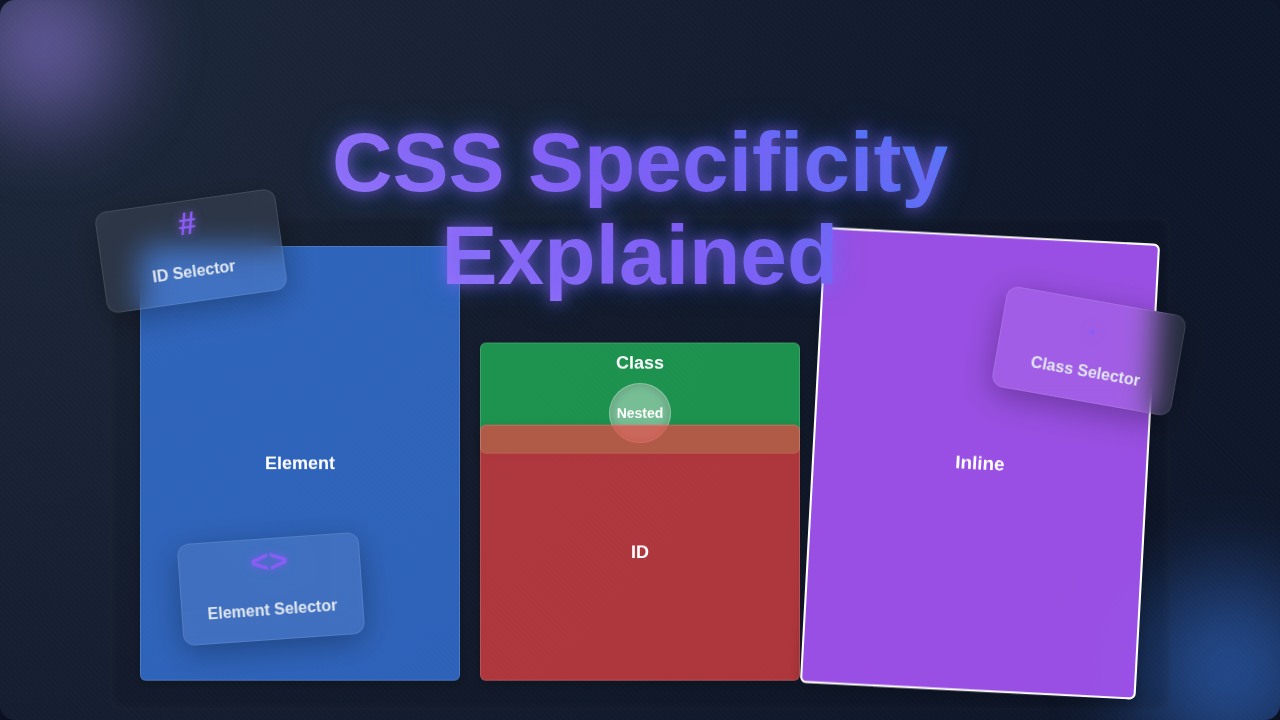
- Inline Styles (The Owner’s Family): These are styles written directly inside an HTML element’s
styleattribute. They are super specific. They’re like shouting directly at an element, "Hey, YOU, be blue!" - IDs (The VIP Pass Holders): An ID is a unique identifier you give to a single HTML element. In CSS, selecting an element by its ID gives your rule significant power. Think of it as a unique name tag for one person.
- Classes, Attributes, and Pseudo-classes (The Reservation Holders): These are styles applied to elements based on their class names, specific attributes (like
type="text"), or their state (like:hover). You can apply one class to many elements, or many classes to one element. This group is powerful for reusable styling. - Elements and Pseudo-elements (The Walk-ins): These are the least specific selectors. They target all instances of an HTML element (like
pfor paragraphs orafor links). Pseudo-elements, like::beforeor::after, also fall into this category. They’re general instructions for a whole group.
The important thing to remember? More specific rules always beat less specific ones. It’s a point game.
Calculating Specificity: Your Style Scorecard
Now, let’s talk about how these points are actually counted. Don’t worry, you don’t need a calculator or complex math. It’s more like a mental tally.
Think of specificity as three columns of numbers, like a mini scoreboard: (A, B, C, D).
A: For inline styles. If present, it’s1,0,0,0.B: For IDs. Each ID selector adds0,1,0,0.C: For classes, attributes, and pseudo-classes. Each one adds0,0,1,0.D: For elements and pseudo-elements. Each one adds0,0,0,1.
Let’s say you have a paragraph. You give it a class called special-text. Then, in your CSS, you write a rule targeting p. You also write a rule targeting .special-text.
The p rule gets 0,0,0,1 (one element selector). The .special-text rule gets 0,0,1,0 (one class selector). Which one wins? The class selector, because 0,0,1,0 is ‘higher’ than 0,0,0,1. Simple, right?
What if you have div p.highlight? That’s one element (div), one element (p), and one class (.highlight). So, its score is 0,0,1,2. See how the numbers stack up?
The browser compares these ‘scores’ from left to right. The first category where one score is higher than the other wins. If they are exactly the same, only then does the order in your stylesheet matter. This is why sometimes the last rule declared seems to win. It only wins if the specificity is equal!
The Cascade’s Dance and !important’s Warning
Specificity isn’t the whole story. It works hand-in-hand with the CSS Cascade. The cascade has several layers. It considers where the style comes from (like your stylesheet vs. the browser’s default styles). It also looks at the order of your styles. Remember, the cascade only steps in when specificity is a tie.
Here’s a common trick, or perhaps a trap: !important. You might have seen it. Adding !important after a CSS property makes that declaration super powerful. It overrides almost everything else. It’s like the ultimate trump card.
But here’s the thing about !important: use it sparingly. It can make your CSS incredibly hard to debug. You might override a crucial style that you needed elsewhere. It breaks the natural flow of specificity. It’s often a sign that your specificity strategy needs a tweak.
Think of
!importantlike a fire extinguisher. You have it for emergencies, but you don’t want to use it to put out a candle. It’s a powerful tool, but often there’s a more elegant solution.
Another cascade factor is inheritance. Some CSS properties naturally ‘flow down’ from a parent element to its children. For instance, color and font-family often inherit. If you set the text color on a div, its child p elements will usually inherit that color. Understanding this helps you write less CSS. However, properties like margin or padding do not inherit. You have to explicitly set them on the child.
For creative layouts, you sometimes need specific control. You might be aiming for a sleek design. Like when you’re crafting a stunning Glassmorphism Card CSS Tutorial: HTML & CSS Design Guide, every tiny detail needs precise styling. Knowing how specificity works ensures your design vision comes to life.
Mastering CSS Specificity Explained: Your Action Plan
So, you’ve grasped the concept. The next step is knowing how to use this superpower! Mastering CSS Specificity Explained means writing predictable, maintainable CSS. You’ll spend less time wondering ‘why isn’t this working?’ and more time building awesome stuff.
Here are some actionable tips for you:
- Prefer Classes Over IDs for Styling: While IDs have high specificity, they are meant to be unique. Using them for general styling makes it tough to override them later. Classes are reusable and offer a balanced level of specificity. You can mix and match them easily.
- Keep Your Selectors Simple: Deeply nested selectors (like
body div main section article p) create very high specificity. This becomes a specificity monster. Try to select elements with fewer, more direct rules. Focus on the class names. - Understand Your Document Flow: Knowing where your stylesheets are linked matters. Styles defined later in your HTML (or imported later in your CSS) can override earlier styles if their specificity is equal.
- Use External Stylesheets: Keep your CSS in a separate
.cssfile. Inline styles are highly specific and can become messy very quickly. They are hard to manage and override. - Be Intentional with Specificity: Before you write a CSS rule, think about how specific it needs to be. Do you want this style to apply to one unique item, a group, or all elements of a certain type? This thought process saves you headaches later.
Want to dive deeper into how CSS works its magic? The MDN Web Docs offer an excellent resource on the foundations of CSS Specificity. It’s a fantastic way to solidify your understanding.
Sometimes you want a style to stretch and shrink beautifully, adapting to different screen sizes. That’s where techniques like CSS Clamp Fluid Typography: Dynamic Scaling Layouts come into play. Specificity helps you ensure those fluid styles apply correctly.
A well-structured CSS stylesheet is like a calm, organized library. Each rule has its place, and you know exactly where to find what you need. Avoid creating ‘specificity wars’ within your own code.
Common Pitfalls and Smarter Styling
Even with a good grasp of specificity, you can still stumble. One common pitfall is over-qualifying your selectors. If you write nav ul li a { color: blue; }, you’re making a very specific rule. What if you just wanted all navigation links to be blue? A class like .nav-link might be simpler and more flexible. Then you could just use .nav-link { color: blue; }.
Another trap is relying too much on parent-child relationships for styling. While sometimes necessary, div.container > p { margin-bottom: 1em; } is often less flexible than giving the paragraph its own class, say .text-block. This also applies when you’re working with different text directions, like in RTL LTR CSS Layouts: A Visual Guide, where precise targeting ensures your layout adapts correctly without unnecessary specificity.
It’s tempting to throw !important at a problem when a style isn’t applying. Resist the urge! Instead, take a moment. Use your browser’s developer tools. Inspect the element. See which rules are being applied and what their specificity scores are. This debugging process is crucial for understanding why your styles aren’t appearing.
The goal isn’t to always have the highest specificity. The goal is to have just enough specificity to apply your styles without accidentally overriding things you didn’t mean to. It’s about being precise, not just powerful.
CSS-Tricks also has a brilliant, easy-to-understand article that goes through CSS Specificity in detail, complete with great visuals. It’s a highly recommended read for any front-end developer.
Your CSS Is Ready To Obey!
Congratulations! You’ve just unlocked a major secret behind how CSS really works. Understanding CSS Specificity Explained isn’t just about winning style battles. It’s about writing cleaner, more predictable, and more maintainable CSS. You’re no longer guessing why your styles aren’t applying. You know exactly why, and more importantly, how to fix it.
This knowledge empowers you. You can build layouts with confidence. You can debug frustrating issues much faster. Keep practicing, keep experimenting. Soon, you’ll be writing CSS that always does exactly what you tell it to do. Go forth and style with newfound power!