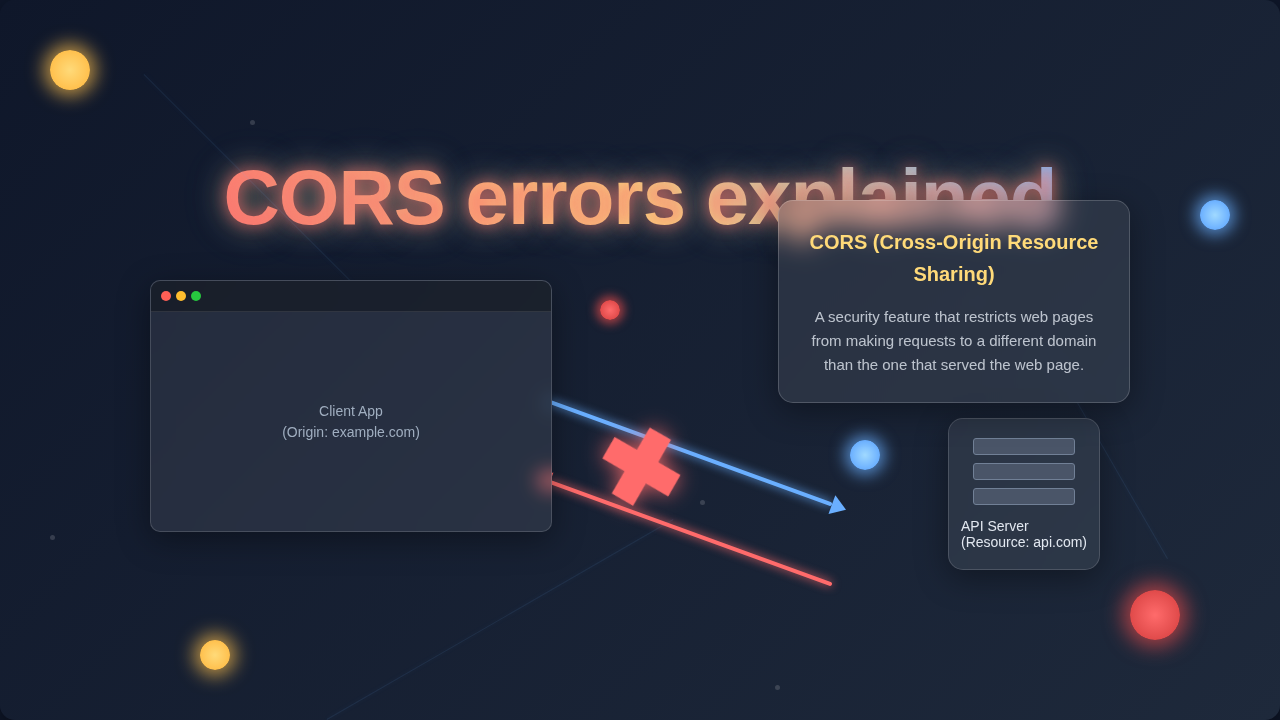
Understanding CORS Errors: A Developer’s Guide to Cross-Origin Woes
Hey there, fellow coder! Ever had your perfectly good JavaScript code crash with a weird ‘CORS policy’ message? You know the one. Your front-end wants to chat with a back-end, you’ve set up your fetch request, you’ve done everything right… but then, a red error appears in your browser console. It’s a frustrating moment, isn’t it? Believe me, you are not alone in this struggle.
Today, we’re diving deep into CORS errors explained. We’ll demystify what Cross-Origin Resource Sharing (CORS) is all about. This essential web security feature can feel like a roadblock. But you’ll soon understand it better. And that understanding will make you a much more confident web developer. Sound good?
The Mystery of CORS Errors Explained: Your Browser’s Secret Service
So, why does this happen? Think of your web browser as a very strict security guard. Its main job? To keep you safe online. It protects you from malicious websites trying to steal your data. This protective measure is called the Same-Origin Policy. It’s a fundamental security concept in web development.
Here’s how it works: By default, your browser only lets your website talk to itself. It’s like a private club. A web page from my-awesome-app.com can easily fetch data from another part of my-awesome-app.com. But it can’t just grab sensitive information from, say, secret-bank.com. That would be a huge security risk, right?
An “origin” is simply a unique address. It’s a combination of the scheme (like http or https), the host (the domain name, like example.com), and the port number (like 80 or 443). If any part of this address is different, your browser considers it a different origin. This strict rule is incredibly important. It prevents harmful scripts from hijacking your online experience. But what if you *do* want to fetch data from another domain? This is where CORS steps in.
The “Permission Slip” Analogy: How CORS Really Works
When your frontend (running on, say, your-app.com) tries to get data from a different backend (at api.some-service.com), your browser gets suspicious. It’s like the security guard at the door seeing someone from a different club trying to enter. So, what happens?
Your browser sends a request to the other server. But it also includes a special header: Origin: your-app.com. This is like your browser asking: “Hey, server at api.some-service.com, is it cool if this guy from your-app.com gets some data?” It’s asking for a permission slip.
The other server then needs to respond with its own special header. This crucial header is Access-Control-Allow-Origin. If the server wants to grant permission, it might send back something like Access-Control-Allow-Origin: your-app.com. This is the server saying, “Yes, your-app.com is welcome here!” If the origin you sent matches what the server allows, your browser lets the request go through. You get your data, and everyone is happy.
However, if the server doesn’t send this header, or if your origin isn’t listed, your browser slams the door shut. It stops the response right then and there. That’s when you see that frustrating CORS error in your console. Your JavaScript code never even gets to see the response. It’s all about browser-level security checks.
CORS errors aren’t your code breaking. They are your browser’s security system diligently doing its job. It’s a protective measure, not a personal attack on your development skills!
Sometimes, your browser might even send a “preflight” request first. This is an OPTIONS HTTP request. It’s like a quick phone call before the actual visit. The browser asks the server: “What kind of methods and headers are you even willing to accept from your-app.com?” This happens for more complex requests. These include requests with custom headers or non-simple HTTP methods (like PUT or DELETE). The server must approve this preflight request. Otherwise, your actual data request never even leaves the runway. It can feel like extra hoops to jump through. But remember, it’s all for your security.
CORS Errors Explained: Debugging Your Way Out of the Maze
You know the ‘why’. Now, let’s talk about the ‘how’. When you hit a CORS error, you’ve got a few paths to explore. The solution usually lies on the server side. You need to configure the API you’re trying to reach. This means telling that server to include the right Access-Control-Allow-Origin header in its responses.
If you control the API, this is your first stop. You’ll add or modify headers in your server-side code. For example, you might set Access-Control-Allow-Origin: https://your-frontend.com. This specifically grants permission to your frontend. Be careful with using a wildcard (*). While it allows any origin, it’s generally not secure for production applications. It opens your API to requests from absolutely anywhere. Instead, list the exact origins you trust. And don’t forget those preflight requests! Your server needs to respond to OPTIONS requests correctly too.
What if you don’t control the API? This is a common scenario. Perhaps you’re using a third-party service. In this case, a proxy server becomes your best friend. Your frontend code (in the browser) makes a request to *your own* backend server. Then, your backend server makes the request to the third-party API. Since CORS rules only apply to browsers, your server-to-server call bypasses the CORS restrictions. It gets the data. Your backend then returns that data to your frontend. It’s a clever workaround! Learning about client-side HTTP requests can also be very helpful; for example, CSS-Tricks’ guide to using the Fetch API provides a great starting point for making these calls effectively.
For more hands-on fixes and specific code examples, you can explore our CORS Errors Fix Tutorial: HTML, CSS & JavaScript Solutions. It dives into practical ways to tackle these issues. Also, if you’re working with server-side requests, especially in Python, you might find our Python Requests Library Explained: Essential Guide helpful for making those secure backend calls.
Making Friends with Your Server: Configuring CORS Settings
So you know *why* it happens. Now, let’s talk *how* to fix it on your server. This is where you actually tell your server to be more welcoming to different origins. Many popular web frameworks offer built-in ways to handle CORS. You don’t always have to manually craft every header.
For example, if you’re using Node.js with Express, you can install a simple middleware package. This package will automatically add the correct CORS headers to your responses. Similarly, frameworks like Python Flask have extensions or decorators. These allow you to easily define which origins, methods, and headers are allowed. It simplifies the process immensely for you.
Beyond Access-Control-Allow-Origin, you might need other headers. Consider Access-Control-Allow-Methods. This header specifies which HTTP methods (like GET, POST, PUT, DELETE) your server permits from cross-origin requests. And Access-Control-Allow-Headers lists the custom headers that the client is allowed to send. If your frontend sends a custom header, the server needs to explicitly allow it here. For a deeper dive into these headers, check out the MDN Web Docs on CORS. They offer comprehensive technical details.
One more crucial point: If your requests involve credentials (like cookies or HTTP authentication headers), you’ll also need to set Access-Control-Allow-Credentials: true. But be careful! When you enable credentials, you cannot use the * wildcard for your Access-Control-Allow-Origin header. You must specify exact origins. This ensures an even tighter security grip. You wouldn’t want just anyone accessing your authenticated resources, would you? Understanding these nuances makes all the difference.
Always configure CORS on your server to be as specific as possible. Limiting allowed origins, methods, and headers greatly enhances your application’s security posture.
Setting up CORS properly takes a little thought. But it protects both your server and your users. It balances openness with necessary security. If you’re building a UI that fetches a lot of data, knowing these configurations is key. For example, if you’re creating sleek interfaces using frameworks, you’ll constantly be interacting with APIs. Our guide on Tailwind Dashboard Cards: Build Responsive UI with HTML & CSS might even spark some ideas for your next project that needs to fetch data securely.
Beyond the Basics: Final Thoughts on Cross-Origin Woes
You’ve come a long way! You’ve learned that CORS errors are not random glitches. They are not some cruel joke played by your browser. Instead, they are security features, diligently protecting your users and your data. Your browser is simply acting as a gatekeeper. It enforces rules to prevent unauthorized access.
Shift your perspective. Think of CORS errors as signals. They tell you that your server needs a specific permission slip. This slip allows your browser to proceed with the request. Now you have the knowledge to understand and tackle these issues head-on. You can configure your servers or implement proxy solutions effectively. Don’t let these red messages scare you away from building amazing web applications. Every developer faces them. It’s a rite of passage!
Keep building, keep experimenting, and keep learning. Your web development journey will be much smoother with this new understanding. You’re now equipped to manage cross-origin requests like a pro. Go forth and conquer those CORS errors!