Hey! If you have wanted to build a Chrome Extension JavaScript project but had no idea where to start, you are in the right place.
What We Are Building
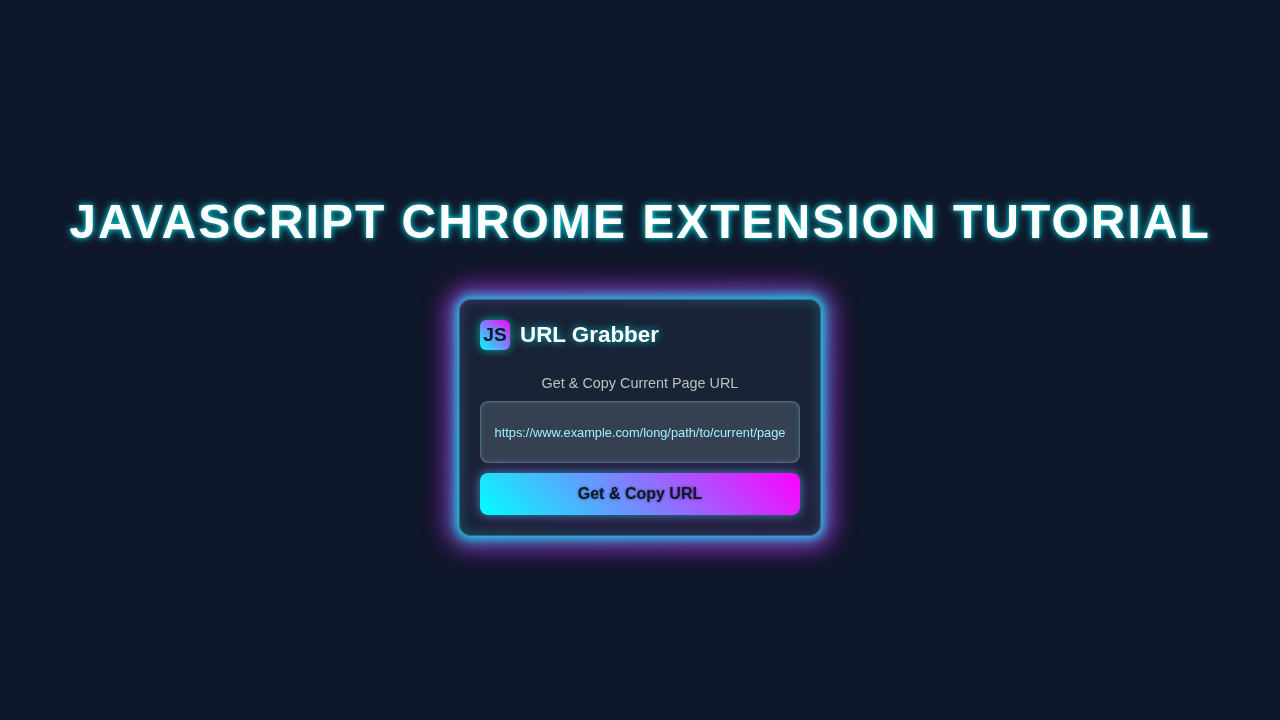
Here’s the cool part: we are building a Chrome extension that highlights text on any webpage.
It is useful for reading and researching online.
HTML Structure
We start with a basic HTML structure.
Don’t worry about this part, it is easy.
index.html
<!DOCTYPE html>
<html lang="en">
<head>
    <meta charset="UTF-8">
    <meta name="viewport" content="width=device-width, initial-scale=1.0">
    <title>URL Grabber</title>
    <link rel="stylesheet" href="styles.css">
</head>
<body>
    <div class="container">
        <h1>Current URL Grabber</h1>
        <p id="urlDisplay">Click "Get & Copy URL" to fetch and copy the current page's URL.</p>
        <button id="getAndCopyUrlBtn">Get & Copy URL</button>
        <p id="message" class="message"></p>
    </div>
    <script src="script.js"></script>
</body>
</html>
CSS Styling
Now we add some CSS styling to make it look nice.
Let me explain what’s happening here: we use CSS to style our HTML.
styles.css
/* Ensure consistent box model across all elements */
*, *::before, *::after {
    box-sizing: border-box;
}

/* Basic styling for the extension popup */
body {
    font-family: Arial, Helvetica, sans-serif; /* Safe fonts */
    width: 300px; /* Standard popup width */
    padding: 15px;
    background-color: #282c34; /* Dark background for the popup */
    color: #f8f8f2; /* Light text color */
    margin: 0; /* Remove default body margin */
    border-radius: 8px;
    overflow: hidden; /* Prevent scrollbars if content overflows slightly */
}

.container {
    display: flex;
    flex-direction: column;
    gap: 10px;
    align-items: center;
}

h1 {
    font-size: 1.2em;
    color: #61dafb; /* Accent color */
    margin-bottom: 5px;
    text-align: center;
}

p {
    font-size: 0.9em;
    text-align: center;
    line-height: 1.4;
    word-wrap: break-word; /* Ensure long URLs wrap */
    max-width: 100%; /* Ensure paragraphs don't exceed container width */
}

#urlDisplay {
    background-color: #3e4451;
    border: 1px solid #4a505b;
    padding: 8px 12px;
    border-radius: 4px;
    width: 100%;
    min-height: 30px; /* Ensure some height even when empty */
    display: flex;
    align-items: center;
    justify-content: center;
    text-align: center;
    font-size: 0.85em;
    color: #e0e0e0;
}

button {
    background-color: #61dafb; /* Accent color for button */
    color: #282c34; /* Dark text for contrast */
    border: none;
    padding: 10px 15px;
    border-radius: 5px;
    cursor: pointer;
    font-size: 1em;
    font-weight: bold;
    transition: background-color 0.3s ease;
    max-width: 100%;
}

button:hover {
    background-color: #21a1f1; /* Darker blue on hover */
}

.message {
    font-size: 0.8em;
    color: #a0a0a0;
    margin-top: 5px;
}

.message.success {
    color: #4CAF50; /* Green for success */
}

.message.error {
    color: #f44336; /* Red for error */
}
Chrome Extension JavaScript
JavaScript is where the magic happens.
We use Chrome Extension JavaScript to bring it all together.
manifest.json
{
  "manifest_version": 3,
  "name": "Current URL Grabber",
  "version": "1.0",
  "description": "A simple Chrome extension to get the current tab's URL and copy it to the clipboard.",
  "permissions": [
    "activeTab",
    "scripting",
    "clipboardWrite"
  ],
  "action": {
    "default_popup": "index.html",
    "default_icon": {
      "16": "icons/icon16.png",
      "48": "icons/icon48.png",
      "128": "icons/icon128.png"
    }
  },
  "icons": {
    "16": "icons/icon16.png",
    "48": "icons/icon48.png",
    "128": "icons/icon128.png"
  }
}
script.js
// Ensure the DOM is fully loaded before attaching event listeners
document.addEventListener('DOMContentLoaded', () => {
    // Get references to DOM elements
    const getAndCopyUrlBtn = document.getElementById('getAndCopyUrlBtn');
    const urlDisplay = document.getElementById('urlDisplay');
    const messageDisplay = document.getElementById('message');

    // Add an event listener to the button
    getAndCopyUrlBtn.addEventListener('click', async () => {
        // Clear previous messages
        messageDisplay.textContent = '';
        messageDisplay.classList.remove('success', 'error');
        urlDisplay.textContent = 'Fetching URL...';

        try {
            // Get the currently active tab
            // chrome.tabs.query is used here to identify the active tab, and with 'activeTab' permission,
            // it doesn't require explicit 'tabs' permission.
            const [tab] = await chrome.tabs.query({ active: true, currentWindow: true });

            if (!tab || !tab.id) {
                throw new Error("Could not get active tab information.");
            }

            // Execute a script in the context of the active tab to get its URL.
            // 'scripting' permission is required for chrome.scripting.executeScript.
            // The result is an array of results, one for each frame the script ran in.
            // We usually care about the main frame, which is the first element.
            const injectionResults = await chrome.scripting.executeScript({
                target: { tabId: tab.id },
                function: () => window.location.href // Function to execute in the tab's context
            });

            const currentUrl = injectionResults[0].result;

            if (currentUrl) {
                urlDisplay.textContent = currentUrl;

                // Attempt to copy the URL to the clipboard.
                // 'clipboardWrite' permission allows the extension to write to the clipboard directly.
                await navigator.clipboard.writeText(currentUrl);

                messageDisplay.textContent = 'URL copied to clipboard!';
                messageDisplay.classList.add('success');
            } else {
                throw new Error('Could not retrieve URL from the current tab.');
            }

        } catch (error) {
            console.error('Error:', error);
            urlDisplay.textContent = 'Error fetching URL.';
            messageDisplay.textContent = `Error: ${error.message}`;
            messageDisplay.classList.add('error');
        }
    });
});
How It All Works Together
Step 1: Create the Extension
We create a new folder for our extension.
Then we create the basic files: HTML, CSS, and JavaScript.
Step 2: Add Functionality
Now we add the Chrome Extension JavaScript code.
This code makes the extension work.
Step 3: Test the Extension
We test the extension to make sure it works.
If it doesn’t work, we fix the bugs.
Tips to Customise It
Here are some tips to customise your extension.
You can change the colour of the highlight.
You can also add more features, like saving the highlighted text.
Pro tip: use the Chrome Extension documentation to learn more about customising your extension.
Conclusion
Congratulations, you just built a Chrome Extension JavaScript project!
We are excited about what you just built.
Check out our other tutorials, like the React ToDo App Tutorial and the JavaScript Page Flip Effect Tutorial.
Remember, practice makes perfect. Keep building and learning!
For more information, visit MDN or CSS-Tricks.