Linux File Permissions for Web Developers
Okay, real talk — ever deployed a brilliant web app, hit refresh, and then stared blankly at a dreaded “Permission Denied” error? You’re not alone. It’s a rite of passage for many self-taught developers. You’ve probably run into this and wondered: why does this not work?
That frustrating moment usually points to one thing: Linux file permissions. Understanding these permissions is absolutely crucial for any web developer working with servers. They dictate who can read, write, or execute your precious code and data. We’re talking about securing your projects, preventing access issues, and generally making your server life much smoother. Let’s unlock this mystery together!
Understanding Linux File Permissions for Web Developers
Think of Linux file permissions like bouncers at a super-exclusive club. They decide who gets in, who can dance, and who can make changes to the playlist. As a web developer, you need to be the head bouncer. You assign the rules. You control access to your entire digital kingdom on the server. Without proper understanding, your site might display errors or even expose sensitive data. This isn’t just about making things work. It’s about security, stability, and control. Ready to gain that control?
-
Tip 1: The R-W-X Trio – Your Access Control Basics
At its core, every file and directory in Linux has three types of permissions. These are Read (r), Write (w), and Execute (x). Make sense so far? You’ll see them everywhere. Read permission lets you view a file’s content or list a directory’s contents. Write permission allows you to modify a file or create/delete files within a directory. Execute permission lets you run a script or enter a directory.
Imagine your project directory is a bustling office. If you have r on a document, you can read it. If you have w, you can edit it. And if you have x on a script, you can actually run it. You assign these permissions to three different categories of users. These categories are the User (the owner of the file), the Group (a set of users), and Others (everyone else). Simple, right?
-
Tip 2: chmod – The Permission Changer
Now, how do you actually change these permissions? That’s where
chmodcomes in. This command is your primary tool for modifying file and directory permissions. You’ll use it constantly. You can tellchmodexactly what permissions to grant. You can apply changes using either symbolic mode or numeric (octal) mode. Most developers prefer numeric mode for its precision. It gives you direct control over who can do what.Let’s say you have a shell script that needs to run on your server. By default, it might not be executable. You need to tell the server: “Hey, this file is meant to be run!” You would use
chmodto grant that execute permission. It’s like putting a “PLAY ME” sticker on your favorite album. You are giving the system clear instructions on how to handle that file. It’s powerful stuff. -
Tip 3: Decoding Octal – The Numeric Superpower
Numeric mode might look intimidating initially. Don’t worry — it clicks eventually! Each permission (Read, Write, Execute) has a numeric value. Read is 4, Write is 2, and Execute is 1. You simply add these values up for each user category. For example, if you want Read and Write, that’s 4 + 2 = 6. Read and Execute is 4 + 1 = 5. Full permissions (Read, Write, Execute) are 4 + 2 + 1 = 7.
So, when you see a command like setting permissions to 755, you’re doing this: the first 7 is for the User (owner). This means Read, Write, and Execute. The next 5 is for the Group, giving them Read and Execute. And the final 5 is for Others, also granting Read and Execute. A common setup for web files is 644. This gives the owner Read and Write (6), and everyone else Read-only (4). It keeps your web content secure. You are explicitly defining access for everyone involved.
-
Tip 4: chown – Assigning Ownership Correctly
Files and directories don’t just have permissions; they also have an owner. This owner is a specific user on the system. They also belong to a specific group. The
chowncommand (short for change owner) lets you modify both the user owner and the group owner of a file or directory. This is super important for web applications. Your web server, often running as a user likewww-dataornginx, needs to own your web root files. Otherwise, it can’t serve them up!Imagine you’ve uploaded new images for your site. You, as the developer, uploaded them. But the web server user needs to access them to display them on your page. If the web server user doesn’t own or have group access to those images, your users will see broken links. You’d use
chownto transfer ownership to the web server user. It’s like telling the delivery guy: “These packages are for the front desk, not for me directly.” Incorrect ownership is a common cause of API rate limiting issues if logs can’t be written. -
Tip 5: chgrp – Managing Group Access
While
chowncan change both user and group owner, sometimes you only need to change the group. That’s wherechgrpcomes in. This command specifically changes the group ownership of files or directories. You’ll find this useful when multiple developers are working on a single project. They might all be part of a specific ‘webdev’ group. By assigning the project files to this group, everyone in the group automatically gets the same group permissions.Consider a scenario where you have a team building a new Content Security Policy for a project. Everyone needs to read and write to the configuration files. Instead of individually granting permissions to each team member, you put them all in a ‘project_devs’ group. Then, you use
chgrpto assign the config files to that group. Now, any member of ‘project_devs’ can modify those files. It streamlines collaboration and keeps things tidy. You manage access at a team level, not individually. -
Tip 6: umask – Setting Future File Permissions
You know how files get default permissions when they’re created? Like when you save a new document? That’s controlled by something called
umask. It’s not a command you run on existing files. Instead,umaskdefines what permissions are removed by default when a new file or directory is created. Think of it as a filter. It subtracts permissions from a starting default. For files, the default is often 666 (Read and Write for all). For directories, it’s 777 (full access for all).A common
umaskvalue is 0022 or 0002. If yourumaskis 0022, it removes Write permission for Group and Others. So, a new file created with a base of 666 becomes 644 (Read/Write for owner, Read-only for group/others). A new directory (base 777) becomes 755. You are essentially telling your system: “When I create something new, please don’t make it overly permissive from the start.” This is a key security practice for web development, especially for user-uploaded content or dynamically generated files. Want to build a cool Glassmorphism sidebar? Ensuring your CSS and JS files have correct permissions is step one! -
Tip 7: Advanced Permissions and Best Practices for Linux File Permissions Web Developer
While
chmod,chown, andumaskcover most of your needs, you might stumble upon a few advanced concepts. The Sticky Bit, for example, is often used on public upload directories. It ensures that only the file’s owner (or root) can delete or rename files within that directory, even if other users have write access to the directory itself. This is a game-changer for shared spaces. Imagine a public forum where anyone can upload images. You don’t want just anyone deleting someone else’s image!Then there are SUID (Set User ID) and SGID (Set Group ID) bits. These tell an executable file to run with the permissions of its owner (SUID) or group (SGID), rather than the user who is running it. They are powerful but can be security risks if not handled with extreme care. You’ll rarely need these for typical web content. Just be aware they exist. For building a React cart drawer, you’re far more likely to focus on ensuring your front-end assets are readable.
When in doubt about a file permission, always err on the side of caution. Less access is usually more secure. You can always grant more later.
Always remember that `chown` changes who owns the file, while `chmod` changes what permissions those owners (and others) have.
Bonus Tip: Always Test and Verify
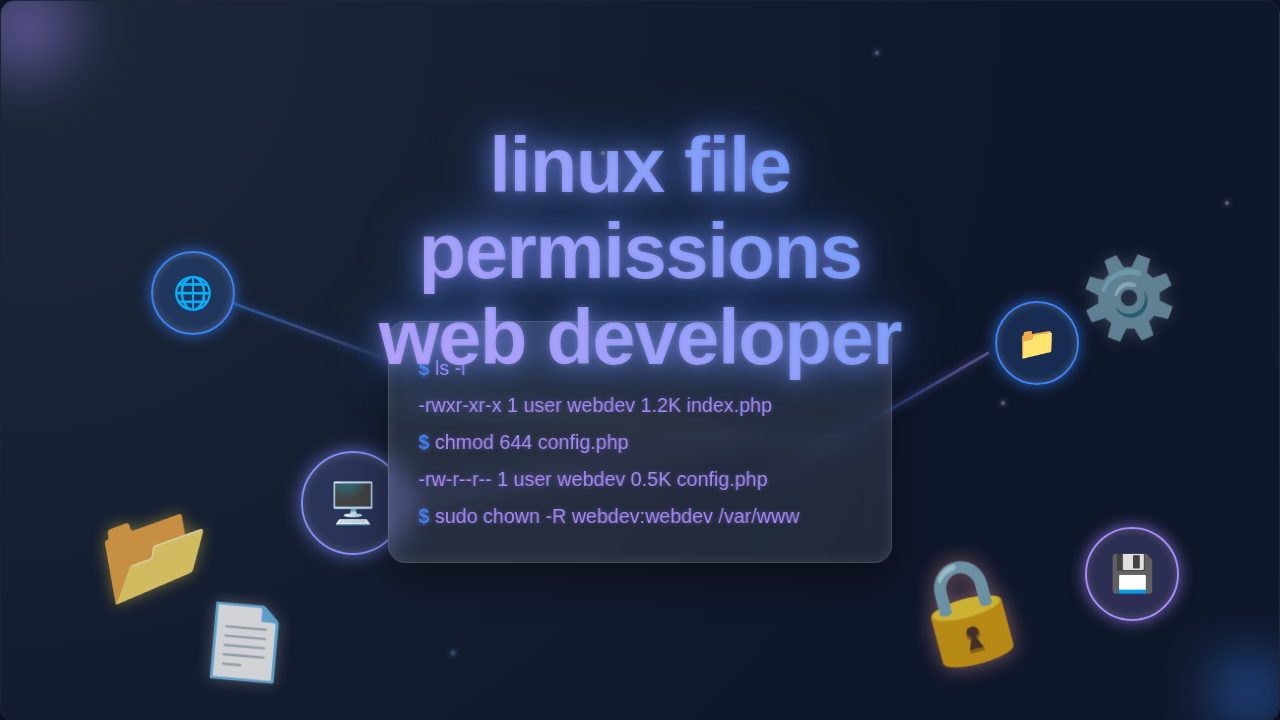
After you make any permission changes, always test them immediately. You can use the `ls -l` command to list files with their detailed permissions. This shows you the rwx strings, ownership, and group. Try accessing the file or directory as the web server user. Or even try creating a file within a directory if you granted write access. Your goal is to ensure your changes had the intended effect. And, just as importantly, that you haven’t accidentally over-permissioned something crucial. For responsive design, you often tweak CSS and then check it in the browser. File permissions are no different. You change them, then you verify.
Learning about Flexbox requires practice, and so does mastering permissions. You’ll get better with every fix.
Wrapping Up Your Linux Permission Journey
You’ve just unlocked some serious server superpowers! Understanding linux file permissions web developer concepts like chmod, chown, and umask empowers you. You can secure your applications, troubleshoot frustrating access issues, and build with confidence. Remember, practice makes perfect. The more you interact with your server and apply these commands, the more intuitive they’ll become. Keep experimenting, keep learning, and keep building awesome things. Your web projects will thank you!