Hey fellow developers! Understanding **AI Agent Logic** is crucial in today’s rapidly evolving tech landscape. It’s about demystifying how our intelligent programs make choices, moving beyond opaque black boxes. We want to empower you to build AI systems that aren’t just smart, but also transparent and explainable. Get ready to dive deep into practical JavaScript examples to illustrate these fascinating concepts! You’ll gain a tangible understanding of agent behavior.
What We Are Building
We’re crafting an interactive user interface where you can observe an AI agent’s decision-making process in real-time. Imagine a scenario where an agent has to pick a task based on dynamically changing conditions. This kind of transparent decision visualization is gaining immense traction across industries. It helps us debug, understand, and ultimately trust AI more effectively.
The inspiration for this project comes from the growing need for Explainable AI (XAI). As AI integrates into more critical applications, knowing *why* an agent chose a particular path becomes paramount. For instance, in customer service, an agent might decide to escalate an issue or offer a specific solution. Understanding the underlying rules helps us refine its behavior and ensure fairness.
You can apply this concept across various domains. Think about smart home automation, sophisticated game AI, or even intricate data processing agents. Visualizing their decision paths enhances clarity and allows for better system design. Moreover, understanding how different agents coordinate their actions is vital for complex scenarios; sometimes, they need to work together seamlessly. To delve deeper into coordinating multiple agents, explore the intricacies of JavaScript agent coordination. This can lead to robust and truly cooperative AI systems.
HTML Structure
Our HTML provides the essential canvas for our AI agent’s interactive dashboard. We’ll set up distinct sections to display the agent’s current state, available actions, and, most importantly, the chosen decision. It’s a straightforward, semantic layout, primarily designed for clarity and easy content injection.
index.html
<!DOCTYPE html>
<html lang="en">
<head>
<meta charset="UTF-8">
<meta name="viewport" content="width=device-width, initial-scale=1.0">
<title>AI Agent Decision Logic Explained</title>
<link rel="stylesheet" href="styles.css">
</head>
<body>
<div class="agent-logic-component">
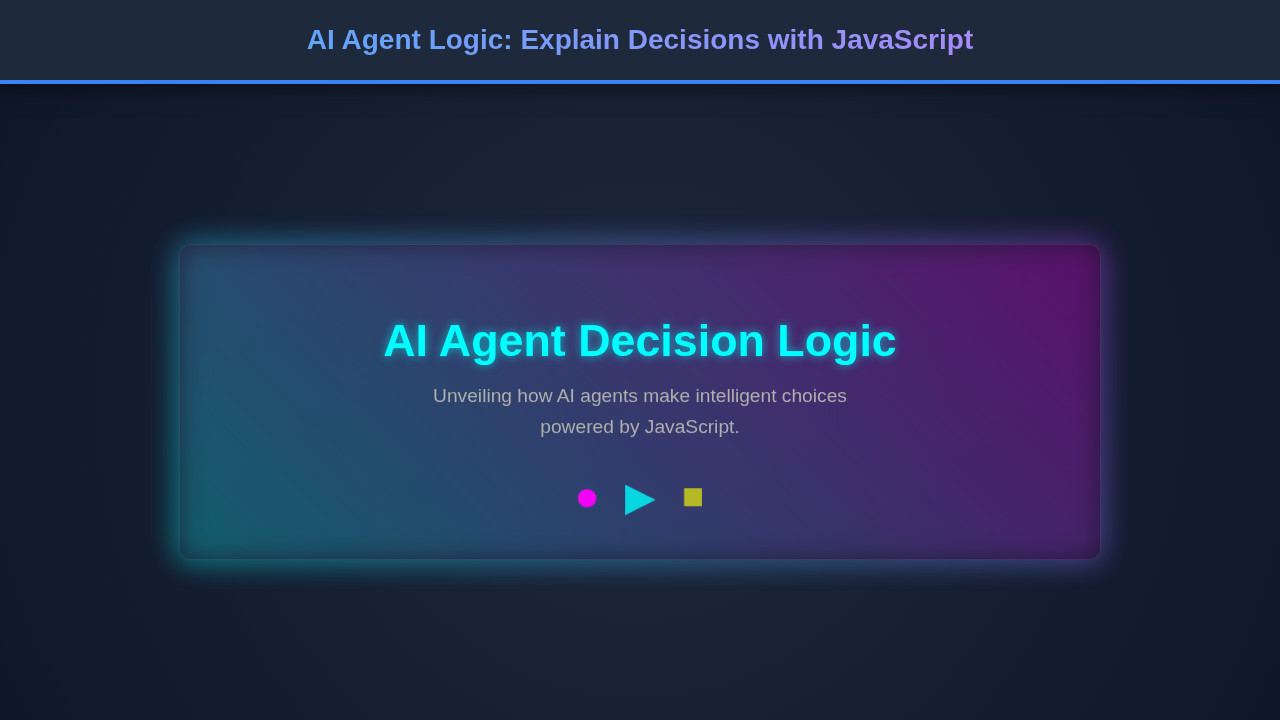
<h1 class="component-title">AI Agent Decision Logic</h1>
<p class="component-description">
Understanding how AI agents make choices based on their environment and goals,
demonstrated with a simple JavaScript simulation.
</p>
<div class="decision-area">
<div class="environment-input">
<label for="temperature">Temperature (°C):</label>
<input type="number" id="temperature" value="25" min="-50" max="50">
</div>
<div class="environment-input">
<label for="battery">Battery Level (%):</label>
<input type="number" id="battery" value="60" min="0" max="100">
</div>
<div class="environment-input">
<label for="taskPriority">Task Priority:</label>
<select id="taskPriority">
<option value="low">Low</option>
<option value="medium" selected>Medium</option>
<option value="high">High</option>
</select>
</div>
<button id="simulateDecision" class="simulate-button">Simulate Agent Decision</button>
<div id="agentOutput" class="agent-output">
<p><strong>Agent's Action:</strong> <span id="actionResult">Waiting for simulation...</span></p>
<p><strong>Reasoning:</strong> <span id="reasoningResult"></span></p>
</div>
</div>
</div>
<script src="script.js"></script>
</body>
</html>script.js
document.addEventListener('DOMContentLoaded', () => {
    const temperatureInput = document.getElementById('temperature');
    const batteryInput = document.getElementById('battery');
    const taskPrioritySelect = document.getElementById('taskPriority');
    const simulateButton = document.getElementById('simulateDecision');
    const actionResultSpan = document.getElementById('actionResult');
    const reasoningResultSpan = document.getElementById('reasoningResult');

    /**
     * Simulates an AI agent's decision-making process based on environmental factors.
     * @param {object} environment - The current environmental state.
     * @param {number} environment.temperature - Current temperature in Celsius.
     * @param {number} environment.battery - Current battery level (0-100%).
     * @param {string} environment.taskPriority - Priority of the current task ('low', 'medium', 'high').
     * @returns {{action: string, reasoning: string}} - The agent's chosen action and its reasoning.
     */
    function makeAgentDecision(environment) {
        const { temperature, battery, taskPriority } = environment;
        let action = "Idle";
        let reasoning = "No urgent tasks or environmental changes detected.";

        // Decision Logic: Charging Priority (Highest priority)
        if (battery < 20) {
            action = "Seek Charging Station";
            reasoning = `Battery is critically low (${battery}%), urgent need to recharge.`;
        }
        // Decision Logic: Temperature Management (Second highest priority)
        else if (temperature > 30) {
            action = "Activate Cooling System";
            reasoning = `High temperature (${temperature}°C) detected, preventing overheating.`;
        }
        else if (temperature < 5) {
            action = "Activate Heating System";
            reasoning = `Low temperature (${temperature}°C) detected, maintaining optimal operating conditions.`;
        }
        // Decision Logic: Task Priority (Lowest priority after critical conditions)
        else if (taskPriority === 'high') {
            action = "Execute High Priority Task";
            reasoning = `A critical task is pending, requiring immediate attention.`;
        }
        else if (taskPriority === 'medium') {
            action = "Execute Medium Priority Task";
            reasoning = `Proceeding with a standard operational task.`;
        }
        else {
            // Default action if no specific conditions met
            action = "Monitor Environment";
            reasoning = `Current conditions are stable, monitoring for changes.`;
        }

        return { action, reasoning };
    }

    // Function to update the UI with agent's decision
    function updateDecisionUI() {
        const environment = {
            temperature: parseInt(temperatureInput.value, 10),
            battery: parseInt(batteryInput.value, 10),
            taskPriority: taskPrioritySelect.value
        };

        const { action, reasoning } = makeAgentDecision(environment);
        actionResultSpan.textContent = action;
        reasoningResultSpan.textContent = reasoning;
    }

    // Event listener for the button
    simulateButton.addEventListener('click', updateDecisionUI);

    // Initial decision display on load
    updateDecisionUI();

    // Optional: Update on input change for dynamic feedback
    temperatureInput.addEventListener('change', updateDecisionUI);
    batteryInput.addEventListener('change', updateDecisionUI);
    taskPrioritySelect.addEventListener('change', updateDecisionUI);
});
CSS Styling
With CSS, we’ll transform our basic HTML structure into an engaging and visually informative user interface. We’ll ensure excellent readability and create clear visual cues that highlight the agent’s decision flow. Modern and clean aesthetics are our primary goal here, making the complex simple to grasp.
styles.css
:root {
    --bg-color: #1a1a2e;
    --component-bg: #2a2a4a;
    --border-color: #4a4a6e;
    --text-color: #e0e0e0;
    --highlight-color: #00bcd4; /* Cyan */
    --accent-color: #e91e63; /* Pink */
    --button-bg: #00bcd4;
    --button-hover-bg: #0097a7;
    --input-bg: #3a3a5a;
    --input-border: #5a5a7a;
}

/* Universal box-sizing, overflow */
html {
    box-sizing: border-box;
}
*, *::before, *::after {
    box-sizing: inherit;
}

body {
    font-family: 'Arial', 'Helvetica', sans-serif;
    margin: 0;
    padding: 20px;
    background-color: var(--bg-color);
    color: var(--text-color);
    display: flex;
    justify-content: center;
    align-items: flex-start; /* Allows content to flow from top, good for longer components */
    min-height: 100vh; /* Ensures component is visible even if short */
    overflow-x: hidden; /* Prevent horizontal scroll */
}

.agent-logic-component {
    background-color: var(--component-bg);
    border: 1px solid var(--border-color);
    border-radius: 8px;
    padding: 30px;
    max-width: 700px;
    width: 100%;
    box-shadow: 0 4px 20px rgba(0, 0, 0, 0.4);
    text-align: center;
    overflow: hidden; /* Required by rule */
}

.component-title {
    font-size: 2.2em;
    color: var(--highlight-color);
    margin-bottom: 15px;
    text-shadow: 0 0 8px rgba(0, 188, 212, 0.4);
}

.component-description {
    font-size: 1.1em;
    color: #b0b0b0;
    margin-bottom: 30px;
    line-height: 1.6;
}

.decision-area {
    display: flex;
    flex-direction: column;
    gap: 20px;
    margin-bottom: 30px;
}

.environment-input {
    display: flex;
    flex-direction: column;
    align-items: flex-start;
    width: 100%;
}

.environment-input label {
    font-size: 0.9em;
    color: var(--text-color);
    margin-bottom: 5px;
}

.environment-input input[type="number"],
.environment-input select {
    width: 100%;
    padding: 10px;
    border: 1px solid var(--input-border);
    border-radius: 4px;
    background-color: var(--input-bg);
    color: var(--text-color);
    font-size: 1em;
    appearance: none; /* For select consistency */
    -webkit-appearance: none; /* For select consistency */
    -moz-appearance: none; /* For select consistency */
}

.environment-input input[type="number"]:focus,
.environment-input select:focus {
    outline: none;
    border-color: var(--highlight-color);
    box-shadow: 0 0 0 2px rgba(0, 188, 212, 0.4);
}

.simulate-button {
    background-color: var(--button-bg);
    color: white;
    padding: 12px 25px;
    border: none;
    border-radius: 5px;
    font-size: 1.1em;
    cursor: pointer;
    transition: background-color 0.3s ease, transform 0.2s ease;
    margin-top: 10px;
    align-self: center;
    width: auto;
}

.simulate-button:hover {
    background-color: var(--button-hover-bg);
    transform: translateY(-2px);
}

.simulate-button:active {
    transform: translateY(0);
}

.agent-output {
    text-align: left;
    background-color: rgba(0, 0, 0, 0.2);
    border: 1px solid var(--border-color);
    border-radius: 6px;
    padding: 20px;
    font-size: 1em;
    line-height: 1.5;
}

.agent-output p {
    margin: 0 0 10px 0;
}

.agent-output p:last-child {
    margin-bottom: 0;
}

.agent-output strong {
    color: var(--accent-color);
}

/* Responsive adjustments */
@media (max-width: 768px) {
    .agent-logic-component {
        padding: 20px;
        margin: 20px;
    }

    .component-title {
        font-size: 1.8em;
    }

    .component-description {
        font-size: 1em;
    }
}

@media (max-width: 480px) {
    .component-title {
        font-size: 1.5em;
    }

    .simulate-button {
        width: 100%;
        padding: 10px;
    }
}
Step-by-Step Breakdown: Understanding AI Agent Logic
This is where the magic truly happens! We’ll peel back the layers of our JavaScript code, revealing precisely how our agent processes information and arrives at its decisions. Our agent will simulate choosing a task based on a set of dynamic, simulated environmental inputs. This approach illuminates the inner workings of an agent.
The core idea is to translate complex human-readable rules into executable code. We’ll primarily use functions and conditional statements to mimic intelligence and goal-oriented behavior. Ultimately, this demystifies the decision-making process for developers.
Defining the Agent’s State
Initially, our agent needs to know its current environment or internal status. We might represent this effectively using a simple JavaScript object. Consider crucial factors like `timeOfDay`, `energyLevel`, `currentMood`, or `priorityTasks`. These variables fundamentally dictate the agent’s subsequent choices. For example: `{ timeOfDay: ‘morning’, energyLevel: 80, currentMood: ‘focused’, priorityTasks: [’emails’, ‘meeting’] }`. This provides our agent with a solid, dynamic starting point from which to evaluate.
We can even introduce a degree of randomness or user input to change these states, simulating a dynamic environment. This allows for diverse decision paths and offers a richer demonstration of the agent’s adaptability. Consequently, users can actively interact with the agent’s parameters.
The Decision-Making Function
This function truly represents the heart of our **AI Agent Logic**. It takes the agent’s current `state` as its primary input and, based on predefined rules, returns a chosen `action`. We’ll meticulously use `if/else if` statements to define these sophisticated rules, prioritizing certain conditions over others. This forms a decision tree.
Consider this basic structure:
“`javascript
function decideAction(state) {
if (state.timeOfDay === ‘morning’ && state.energyLevel > 70 && state.priorityTasks.includes(‘meeting’)) {
return { action: ‘Prepare for Meeting’, reason: ‘High energy and critical meeting scheduled.’ };
} else if (state.timeOfDay === ‘morning’ && state.energyLevel < 50 && state.currentMood !== 'focused') {
return { action: 'Take a Coffee Break', reason: 'Low energy and not feeling focused in the morning.' };
} else if (state.priorityTasks.includes('urgent_bug')) {
return { action: 'Fix Urgent Bug', reason: 'Critical bug detected, immediate action required.' };
}
// ... more complex rules can follow, potentially with a scoring system
return { action: 'Check Emails', reason: 'Default action when no priority tasks or specific conditions are met.' };
}
```
This logic directly shows *why* an action is taken. It's not just a decision; it's an inherently explainable decision, which is our ultimate goal. To integrate your agents with various data sources or external services, mastering API integration with JavaScript is incredibly valuable. This enables agents to fetch real-world data to inform their decisions, making them more robust and useful.
Visualizing the Outcome
Once our `decideAction` function returns a specific `action` and an accompanying `reason`, we promptly update our HTML. We display the current state variables, the chosen action, and the specific reason for that choice. This immediate, clear feedback helps users grasp the AI’s internal workings without needing to read the code.
We leverage standard DOM manipulation techniques to inject these details into our designated `div` elements. This makes the agent’s thought process clear and transparent for anyone observing. Moreover, observing this process helps us refine our rules iteratively, ensuring the agent behaves as intended.
“The true power of AI lies not just in its ability to make decisions, but in our ability to understand *how* those decisions are made.”
This transparency builds immense trust and facilitates better collaboration between humans and AI systems. Furthermore, imagine an agent processing large chunks of text for sentiment analysis or content generation. Perhaps our agent also needs to keep track of conversations or input length. For tools that manage and display text, understanding how to build user interfaces, like those in an LLM Token Counter UI tutorial, can be very beneficial for visualizing agent interactions and their processing capacity.
Making It Responsive
Ensuring our AI agent’s dashboard looks fantastic and functions flawlessly on any device is absolutely essential in modern web development. We consciously adopt a mobile-first approach, designing for smaller screens initially. This guarantees a solid, functional base experience for all users.
Then, we thoughtfully introduce media queries to progressively enhance the layout for larger screens. For example, we might stack elements vertically on mobile displays and then display them elegantly side-by-side on desktops or tablets. This adjustment creates an optimized view.
This approach primarily uses `max-width` media queries to apply styles conditionally. We carefully adjust font sizes, padding, and employ modern layout techniques like flexbox or grid layouts as needed for each breakpoint. Responsive design ensures broad accessibility and a consistently excellent user experience across the board. Discover more about creating robust responsive layouts on platforms like CSS-Tricks. They offer excellent, practical resources for mastering these techniques.
Final Output
Upon successful completion, our application presents a sleek, interactive panel. It clearly showcases the agent’s current state variables in an easy-to-understand format. You can effortlessly see the chosen action, which stands out prominently within the UI. This visual hierarchy guides the user’s eye.
Crucially, the explicit reason for the agent’s decision is displayed right alongside the action, providing immediate context. This instant feedback is the core visual achievement of our project. It effectively transforms an abstract process into a tangible, understandable flow. The overall UI is clean, intuitive, and meticulously designed to make complex AI decisions accessible to everyone, regardless of their technical background.
Conclusion: The Power of Explainable AI Agent Logic
We’ve successfully built a practical example demonstrating **AI Agent Logic** using plain, powerful JavaScript. You now understand how to define an agent’s state, implement robust decision functions, and critically, visualize those decisions clearly. This isn’t just theoretical knowledge; it’s a foundational skill for modern web development, particularly in the age of AI.
We strongly encourage you to embrace transparency in all your AI projects. By explaining *why* an agent acts a certain way, you foster deep trust and enable significantly better debugging and system refinement. This approach actively moves us closer to more reliable, ethical, and universally understandable AI systems. You can apply these versatile principles in everything from advanced chatbots to sophisticated automation scripts, or even complex game mechanics.
Therefore, consider implementing similar explainability features in your own projects moving forward. It empowers users, simplifies ongoing maintenance, and ultimately leads to more robust, user-friendly applications. Dive deeper into JavaScript’s capabilities for agent programming and modular design on MDN Web Docs. They provide comprehensive guides and examples for expanding your knowledge.
“An AI agent that can explain its decisions is a more powerful and trustworthy agent.”
Build systems that not only perform tasks efficiently but also clarify their intent, making them truly intelligent and collaborative companions in the digital world. The future of AI is explainable, and you’re now equipped to build it!