API Mocking is an indispensable technique for any modern web developer. It allows us to simulate API responses, even when a backend isn’t ready. This approach streamlines frontend development significantly. It also empowers robust testing. You can build and test features in isolation, free from external dependencies. Let’s dive into how you can implement powerful API mocking in your JavaScript projects!
What We Are Building: A Practical API Mocking Example
We’re going to create a simple web application. This app will fetch and display a list of users. Instead of connecting to a live server, it will grab its data from a mocked API. Imagine building a dashboard or a user management screen. That’s our inspiration!
Why is this approach trending? Frontend teams can progress independently. They don’t need to wait for backend services. This accelerates development cycles considerably. Moreover, it creates a stable environment for testing. You can simulate success, error, and loading states reliably. No more flaky tests due to network issues or rate limits!
You can use API mocking in many scenarios. It’s perfect for rapid prototyping. It also shines in unit and integration testing. Developing offline becomes a breeze. This powerful technique makes your development process more efficient and predictable.
HTML Structure
First, let’s lay the groundwork with our HTML. We’ll set up a basic container. Inside, we will render our user list. This structure provides a clear canvas for our dynamic content.
index.html
<!DOCTYPE html>
<html lang="en">
<head>
<meta charset="UTF-8">
<meta name="viewport" content="width=device-width, initial-scale=1.0">
<title>API Mocking with JavaScript</title>
<link rel="stylesheet" href="styles.css">
</head>
<body>
<div class="container">
<h1>API Mocking Tutorial</h1>
<p>Learn how to simulate API responses in your JavaScript applications for faster development and more robust testing.</p>
<section class="code-example">
<h2>Mocking with JavaScript Fetch API Pattern</h2>
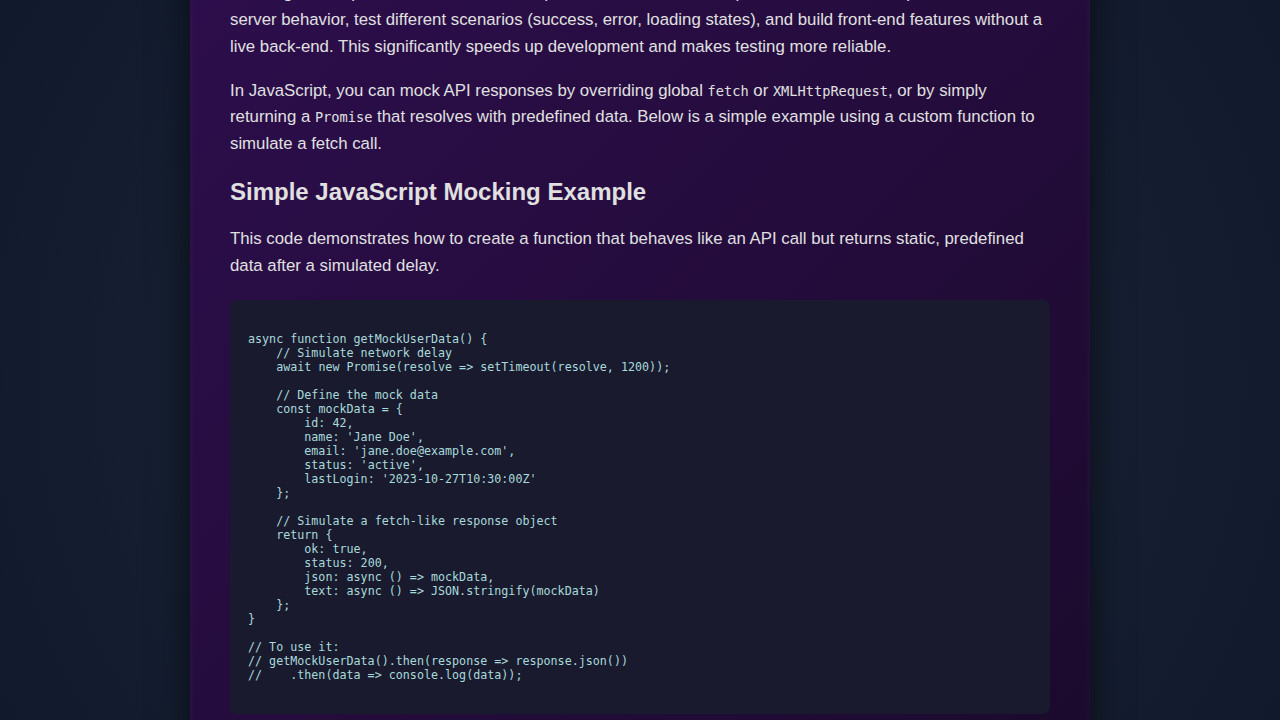
<p>You can create functions that mimic the behavior of <code>fetch</code> by returning a Promise that resolves with a custom response object, including methods like <code>.json()</code>.</p>
<pre><code class="language-js">
// script.js
async function getMockedUserData() {
// Simulate network delay
await new Promise(resolve => setTimeout(resolve, 800));
// Return a predefined data structure
const mockData = {
id: 101,
username: 'dev_user',
email: 'dev@example.com',
role: 'tester'
};
return {
ok: true,
status: 200,
json: async () => mockData,
text: async () => JSON.stringify(mockData),
headers: new Headers({'Content-Type': 'application/json'})
};
}
document.addEventListener('DOMContentLoaded', () => {
const fetchMockButton = document.getElementById('fetchMockButton');
const mockResultArea = document.getElementById('mockResultArea');
if (fetchMockButton && mockResultArea) {
fetchMockButton.addEventListener('click', async () => {
mockResultArea.textContent = 'Fetching mock user data...';
mockResultArea.style.color = 'var(--text-color)';
try {
const response = await getMockedUserData();
if (response.ok) {
const data = await response.json();
mockResultArea.textContent = 'Mocked Data: \n' + JSON.stringify(data, null, 2);
mockResultArea.style.color = 'var(--accent-color-success)';
} else {
const errorText = await response.text();
mockResultArea.textContent = `Error ${response.status}: ${errorText}`;
mockResultArea.style.color = 'var(--accent-color-error)';
}
} catch (error) {
mockResultArea.textContent = 'Error during mock data retrieval: ' + error.message;
mockResultArea.style.color = 'var(--accent-color-error)';
}
});
}
});
</code></pre>
<button id="fetchMockButton">Get Mocked User Data</button>
<pre id="mockResultArea" class="result-display"></pre>
</section>
</div>
<script src="script.js" defer></script>
</body>
</html>
script.js
// Function to simulate a mocked API call
async function getMockedUserData() {
    // Simulate network delay (e.g., 800ms)
    await new Promise(resolve => setTimeout(resolve, 800));

    // Return a predefined data structure as if it came from an API
    const mockData = {
        id: 101,
        username: 'dev_user',
        email: 'dev@example.com',
        role: 'developer',
        status: 'active',
        lastLogin: new Date().toISOString()
    };

    // Simulate a successful fetch-like response object
    // with an 'ok' status and a json() method
    return {
        ok: true,
        status: 200,
        json: async () => mockData, // Async function to mimic fetch response.json()
        text: async () => JSON.stringify(mockData), // Also provide text method
        headers: new Headers({'Content-Type': 'application/json'}) // Simulate headers
    };
}

// Event listener for the button
document.addEventListener('DOMContentLoaded', () => {
    const fetchMockButton = document.getElementById('fetchMockButton');
    const mockResultArea = document.getElementById('mockResultArea');

    if (fetchMockButton && mockResultArea) {
        fetchMockButton.addEventListener('click', async () => {
            mockResultArea.textContent = 'Fetching mock user data...';
            mockResultArea.style.color = 'var(--text-color)'; // Reset color

            try {
                // Call our mock function instead of actual fetch
                const response = await getMockedUserData();

                if (response.ok) {
                    const data = await response.json();
                    mockResultArea.textContent = 'Mocked Data:\n' + JSON.stringify(data, null, 2);
                    mockResultArea.style.color = 'var(--accent-color-success)';
                } else {
                    // Simulate an error response scenario
                    const errorText = await response.text();
                    mockResultArea.textContent = `Error ${response.status}: ${errorText}`;
                    mockResultArea.style.color = 'var(--accent-color-error)';
                }
            } catch (error) {
                mockResultArea.textContent = 'Error during mock data retrieval: ' + error.message;
                mockResultArea.style.color = 'var(--accent-color-error)';
            }
        });
    }
});
CSS Styling
Next, we’ll bring our UI to life with some elegant CSS. Our goal is a clean, modern look. We’ll add some basic layout and typography. This makes our user list readable and appealing.
styles.css
:root {
    --bg-color: #1e1e2e;
    --text-color: #e0e0e0;
    --card-bg: #2d2d44;
    --code-bg: #282a36;
    --primary-color: #8be9fd;
    --secondary-color: #ff79c6;
    --accent-color-success: #50fa7b;
    --accent-color-error: #ff5555;
    --button-bg: #5a4b91;
    --button-hover-bg: #6a5ca1;
}

/* Base styles */
body {
    font-family: Arial, Helvetica, sans-serif;
    margin: 0;
    padding: 0;
    background-color: var(--bg-color);
    color: var(--text-color);
    line-height: 1.6;
    display: flex;
    justify-content: center;
    align-items: center;
    min-height: 100vh;
    box-sizing: border-box; /* Rule 6 */
    overflow: hidden; /* Rule 6 */
}

.container {
    max-width: 800px;
    width: 100%; /* Rule 6 */
    background-color: var(--card-bg);
    padding: 30px;
    border-radius: 10px;
    box-shadow: 0 5px 15px rgba(0, 0, 0, 0.4);
    overflow: hidden; /* Rule 6 */
    box-sizing: border-box; /* Rule 6 */
}

h1, h2 {
    color: var(--primary-color);
    text-align: center;
    margin-bottom: 20px;
}

h1 {
    font-size: 2.5em;
}

h2 {
    font-size: 1.8em;
    text-align: left;
    border-bottom: 1px solid var(--secondary-color);
    padding-bottom: 5px;
    margin-top: 30px;
}

p {
    margin-bottom: 15px;
}

.code-example {
    margin-top: 25px;
}

pre {
    background-color: var(--code-bg);
    color: var(--text-color);
    padding: 15px;
    border-radius: 8px;
    overflow-x: auto; /* Rule 6 */
    font-family: 'Consolas', 'Monaco', 'Andale Mono', 'Ubuntu Mono', monospace; /* Safe monospace font */
    font-size: 0.9em;
    line-height: 1.4;
    white-space: pre-wrap; /* For better word wrapping in small screens */
    word-wrap: break-word; /* For long lines */
    max-width: 100%; /* Rule 6 */
    box-sizing: border-box; /* Rule 6 */
}

code {
    font-family: inherit;
    color: var(--primary-color);
}

button {
    background-color: var(--button-bg);
    color: var(--text-color);
    border: none;
    padding: 12px 25px;
    border-radius: 5px;
    cursor: pointer;
    font-size: 1em;
    margin-top: 20px;
    transition: background-color 0.3s ease;
    display: block;
    width: fit-content;
    margin-left: auto;
    margin-right: auto;
}

button:hover {
    background-color: var(--button-hover-bg);
}

.result-display {
    background-color: var(--code-bg);
    color: var(--text-color);
    padding: 15px;
    border-radius: 8px;
    margin-top: 20px;
    min-height: 50px;
    font-family: 'Consolas', 'Monaco', 'Andale Mono', 'Ubuntu Mono', monospace;
    font-size: 0.9em;
    white-space: pre-wrap;
    word-wrap: break-word;
    max-width: 100%; /* Rule 6 */
    box-sizing: border-box; /* Rule 6 */
}
Step-by-Step Breakdown
Now for the exciting part: the JavaScript! We’ll walk through creating our mock API. Then we’ll integrate it with our frontend. This process ensures our app behaves exactly as if it were talking to a real server.
Setting Up Our Project
Let’s organize our files properly. Create a folder named mock-api-project. Inside, you’ll need three files: index.html, style.css, and script.js. Link your CSS and JavaScript files to your HTML. This setup is standard practice. It keeps your code organized. It also prepares your project for development.
Understanding the Mock Data
Our mock API needs data to return. We’ll define a simple array of user objects. Each object might have an id, name, and email. You can store this directly in script.js. For larger projects, a separate mockData.js file works best. This keeps your main script cleaner. It also makes your data easily manageable.
const mockUsers = [
  { id: 1, name: 'Alice Smith', email: 'alice@example.com' },
  { id: 2, name: 'Bob Johnson', email: 'bob@example.com' },
  { id: 3, name: 'Charlie Brown', email: 'charlie@example.com' }
];
Having clear data is key. It helps you simulate various responses effectively. This approach also simplifies later updates. You might want to enhance your code blocks with syntax highlighting. It improves readability significantly!
Simulating API Calls with fetch
We’ll create a function that mimics the native fetch API. This function will return a Promise. It resolves with our mock data. We’ll use setTimeout to simulate network latency. This makes the experience feel more realistic. It also helps test loading states accurately.
function mockFetchUsers() {
  return new Promise(resolve => {
    setTimeout(() => {
      resolve({ json: () => Promise.resolve(mockUsers) });
    }, 1000); // Simulate 1-second network delay
  });
}
When implementing this, remember Promise.resolve() and Promise.reject(). These are crucial for handling success and failure scenarios. For a deeper dive into the native fetch API, check out its documentation on MDN. It’s a fundamental browser feature.
“The true art of software development is not writing code, but understanding how to manage complexity.” – Unknown
Displaying Mocked Data on the UI
Next, we’ll connect our mocked data to the DOM. We’ll select our user list container. Then we’ll iterate over the mockUsers array. For each user, we’ll create new list items or cards. Append these elements to the container. This dynamically populates your UI. Remember to include basic error handling. What if your mock data is empty? Display a friendly message instead!
async function displayUsers() {
const userListContainer = document.getElementById('user-list');
userListContainer.innerHTML = 'Loading users...';
try {
const response = await mockFetchUsers();
const users = await response.json();
if (users.length === 0) {
userListContainer.innerHTML = 'No users found.
';
return;
}
userListContainer.innerHTML = ''; // Clear loading message
users.forEach(user => {
const userDiv = document.createElement('div');
userDiv.className = 'user-card';
userDiv.innerHTML = `
${user.name}
${user.email}
`;
userListContainer.appendChild(userDiv);
});
} catch (error) {
userListContainer.innerHTML = `Error loading users: ${error.message}
`;
console.error('Failed to fetch users:', error);
}
}
displayUsers();
Implementing Robust API Mocking Strategies
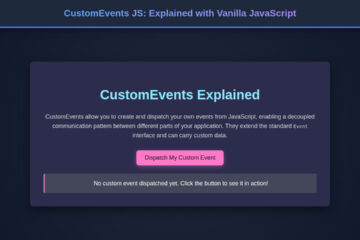
Good API mocking goes beyond simple data returns. You can simulate different HTTP status codes. For instance, return a 404 for a specific user ID. Or a 500 for a server error. This tests your application’s error UI gracefully. Moreover, implement conditional mocking. Based on request parameters, return different datasets. This makes your mocks highly flexible. You might even want to simulate slow connections. This helps identify UI bottlenecks. For advanced event handling in JavaScript, consider using CustomEvents JS. It’s incredibly powerful for managing complex interactions!
Making It Responsive
Our application needs to look great on all devices. This means implementing responsive design. Use CSS media queries to adjust layouts for smaller screens. A mobile-first approach is often best. Start designing for mobile. Then progressively enhance for larger viewports. For example, change a two-column layout to a single column. Adjust font sizes as needed. This ensures a consistent user experience. This also caters to diverse user environments.
Final Output
You’ll have a fully functional web page. It displays a list of users. The key visual elements will be clear and well-structured. Each user will have a distinct card. The overall presentation will be clean and professional. The most exciting part? All this happens without a live backend! You’ve successfully decoupled your frontend from the backend. This allows for seamless and independent development. It’s a huge win for productivity.
Conclusion
You’ve just learned how to implement powerful API mocking in JavaScript. This skill is invaluable for any developer. It significantly speeds up frontend development. It also makes your testing more reliable. Apply this technique in large team environments. Use it for continuous integration and delivery pipelines. Or simply use it for rapid prototyping. The possibilities are endless!
“The best way to predict the future is to create it.” – Peter Drucker
Continue exploring modern CSS layout techniques. Resources like CSS-Tricks offer fantastic insights. You might also consider structuring your larger projects. An interactive table of contents can really help. Keep building, keep experimenting, and keep pushing the boundaries of what you can create!