Mastering Playwright E2E testing transforms your approach to web application quality, ensuring reliability and a seamless user experience. As a developer, you understand that shipping bug-free code is paramount. End-to-end (E2E) testing bridges the gap between individual component tests and real-world user interactions, verifying your application works as expected from start to finish. This powerful tool is fast, dependable, and truly cross-browser, making it an essential part of your testing toolkit.
Today, we’re diving deep into Playwright, Google’s open-source library, to demonstrate how you can implement robust E2E tests for your JavaScript applications. Prepare to elevate your testing game!
What We Are Automating: The Power of Playwright E2E
Before we jump into writing tests, let’s understand the context. What kind of application flows do we typically want to test with a robust framework like Playwright E2E? Imagine a critical user journey: a user logs in, interacts with a feature, and then logs out. These multi-step interactions are precisely where E2E tests shine, catching issues that unit or integration tests might miss.
Our goal isn’t just to write tests; it’s to build confidence. Playwright helps us achieve this by simulating real user actions across Chrome, Firefox, and Safari, all from a single API. This capability is trending because it drastically reduces the time and effort traditionally spent on manual QA, empowering developers to deploy faster with greater assurance.
For this tutorial, we will focus on automating a simple yet common scenario: a user logging into an application and then logging out. This flow involves inputting text, clicking buttons, and asserting on visible text changes, making it an ideal candidate to demonstrate Playwright’s core functionalities.
Designing Our Test Target: HTML Structure
To effectively test an application, we first need an application to test! We’ll create a minimal login interface that serves as our target. This HTML provides the basic elements Playwright will interact with, like input fields and buttons.
<!DOCTYPE html>
<html lang="en">
<head>
    <meta charset="UTF-8">
    <meta name="viewport" content="width=device-width, initial-scale=1.0">
    <title>Simple Login App</title>
    <link rel="stylesheet" href="styles.css">
</head>
<body>
    <div class="container">
        <h1>Welcome Back!</h1>
        <form id="login-form">
            <div class="form-group">
                <label for="username">Username:</label>
                <input type="text" id="username" name="username" placeholder="Enter your username">
            </div>
            <div class="form-group">
                <label for="password">Password:</label>
                <input type="password" id="password" name="password" placeholder="Enter your password">
            </div>
            <button type="submit" id="login-button">Log In</button>
            <p id="message" class="error-message"></p>
        </form>
        <div id="dashboard" style="display: none;">
            <h2>Welcome to your Dashboard!</h2>
            <p>You are successfully logged in.</p>
            <button id="logout-button">Log Out</button>
        </div>
    </div>
    <script>
        document.getElementById('login-form').addEventListener('submit', function(event) {
            event.preventDefault();
            const username = document.getElementById('username').value;
            const password = document.getElementById('password').value;
            const messageElement = document.getElementById('message');
            const dashboardElement = document.getElementById('dashboard');
            const formElement = document.getElementById('login-form');

            if (username === 'testuser' && password === 'testpass') {
                messageElement.textContent = 'Login successful!';
                messageElement.style.color = 'green';
                formElement.style.display = 'none';
                dashboardElement.style.display = 'block';
            } else {
                messageElement.textContent = 'Invalid username or password.';
                messageElement.style.color = 'red';
            }
        });

        document.getElementById('logout-button').addEventListener('click', function() {
            const messageElement = document.getElementById('message');
            const dashboardElement = document.getElementById('dashboard');
            const formElement = document.getElementById('login-form');

            document.getElementById('username').value = '';
            document.getElementById('password').value = '';
            messageElement.textContent = '';
            messageElement.style.color = '';
            formElement.style.display = 'block';
            dashboardElement.style.display = 'none';
        });
    </script>
</body>
</html>
Styling Our Test Target: CSS Essentials
Good styling ensures our application looks professional and provides clear visual feedback, which is also important for manual testing or visual regression testing with Playwright. This CSS makes our login form presentable and user-friendly. Pay attention to how the styles change based on interactions, as Playwright can assert on these visual cues too.
body {
    font-family: Arial, sans-serif;
    background-color: #f4f7f6;
    display: flex;
    justify-content: center;
    align-items: center;
    min-height: 100vh;
    margin: 0;
}

.container {
    background-color: #ffffff;
    padding: 40px;
    border-radius: 10px;
    box-shadow: 0 4px 15px rgba(0, 0, 0, 0.1);
    text-align: center;
    width: 100%;
    max-width: 400px;
}

h1 {
    color: #333;
    margin-bottom: 25px;
    font-size: 1.8em;
}

h2 {
    color: #333;
    margin-bottom: 20px;
    font-size: 1.5em;
}

.form-group {
    margin-bottom: 20px;
    text-align: left;
}

label {
    display: block;
    margin-bottom: 8px;
    color: #555;
    font-weight: bold;
}

input[type="text"],
input[type="password"] {
    width: calc(100% - 20px);
    padding: 12px 10px;
    border: 1px solid #ddd;
    border-radius: 5px;
    font-size: 1em;
    box-sizing: border-box;
    transition: border-color 0.3s ease;
}

input[type="text"]:focus,
input[type="password"]:focus {
    border-color: #007bff;
    outline: none;
}

button {
    background-color: #007bff;
    color: white;
    padding: 12px 25px;
    border: none;
    border-radius: 5px;
    cursor: pointer;
    font-size: 1.1em;
    font-weight: bold;
    transition: background-color 0.3s ease, transform 0.2s ease;
    width: 100%;
    margin-top: 10px;
}

button:hover {
    background-color: #0056b3;
    transform: translateY(-2px);
}

.error-message {
    color: red;
    margin-top: 15px;
    font-weight: bold;
}

#dashboard p {
    color: #4CAF50;
    font-size: 1.1em;
    margin-bottom: 20px;
}

/* Basic responsiveness */
@media (max-width: 600px) {
    .container {
        padding: 25px;
        margin: 15px;
    }

    h1 {
        font-size: 1.5em;
    }

    button {
        padding: 10px 20px;
        font-size: 1em;
    }
}
Mastering Playwright E2E: Step-by-Step Testing
Now for the exciting part: writing our tests! This section guides you through setting up Playwright and crafting your first end-to-end test suite for our login application.
Setting Up Your Playwright Project
First things first, you need to set up Playwright in your project. If you don’t have Node.js installed, grab it from MDN Web Docs. Open your terminal in your project directory and run:
npm init playwright@latest
This command will interactively guide you through the setup. Choose JavaScript, specify a tests folder (e.g., tests), and let it install the browsers. Once complete, you’ll have a playwright.config.js file and some example tests. Feel free to remove the example tests for a clean start.
Writing Your First Test Script
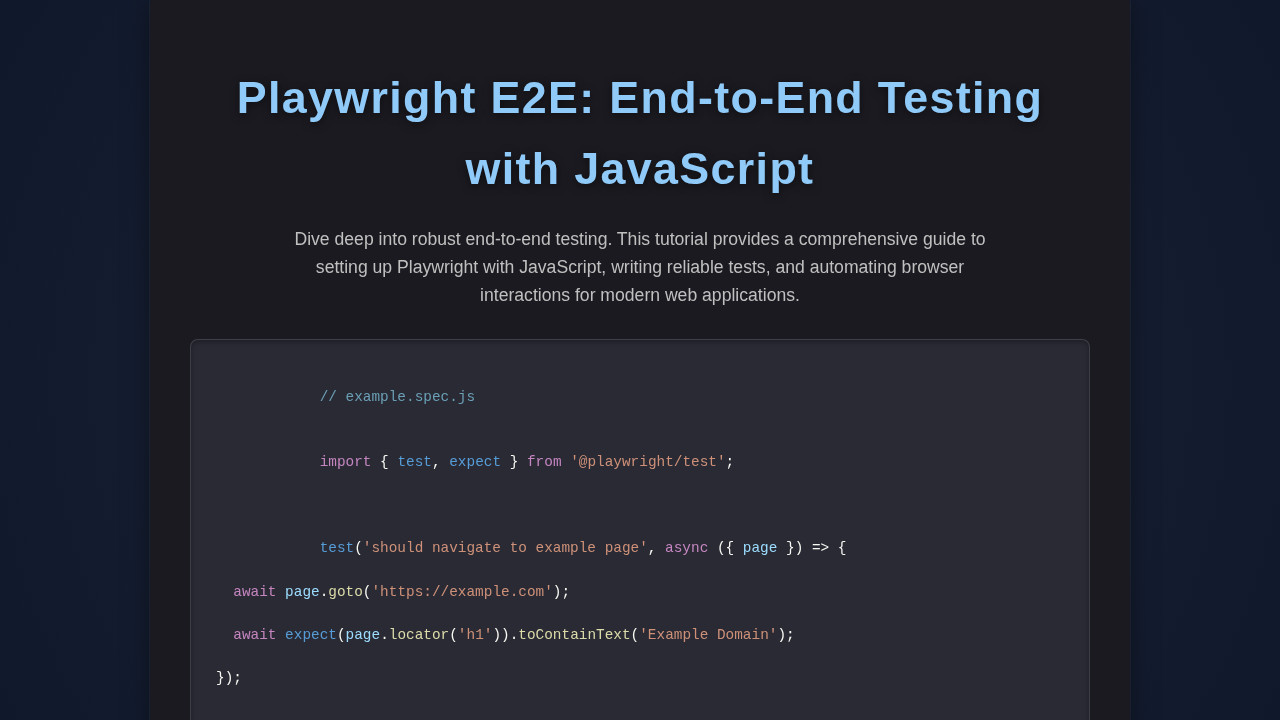
Let’s create a new file, say tests/login.spec.js. Inside this file, we’ll write our test logic. Playwright uses a test runner similar to Jest, making it intuitive to write tests.
// tests/login.spec.js
import { test, expect } from '@playwright/test';

test.describe('Login Functionality', () => {
  const BASE_URL = 'http://localhost:8080'; // Or wherever your app is running

  test.beforeEach(async ({ page }) => {
    await page.goto(BASE_URL);
  });

  test('should allow a user to log in successfully and then log out', async ({ page }) => {
    // 1. Assert initial state
    await expect(page.locator('h1')).toHaveText('Welcome Back!');
    await expect(page.locator('#dashboard')).toBeHidden();

    // 2. Input credentials
    await page.fill('#username', 'testuser');
    await page.fill('#password', 'testpass');

    // 3. Click login button
    await page.click('#login-button');

    // 4. Assert post-login state
    await expect(page.locator('#message')).toHaveText('Login successful!');
    await expect(page.locator('#message')).toHaveCSS('color', 'rgb(0, 128, 0)'); // Green color
    await expect(page.locator('#login-form')).toBeHidden();
    await expect(page.locator('#dashboard')).toBeVisible();
    await expect(page.locator('#dashboard h2')).toHaveText('Welcome to your Dashboard!');

    // 5. Click logout button
    await page.click('#logout-button');

    // 6. Assert post-logout state
    await expect(page.locator('#login-form')).toBeVisible();
    await expect(page.locator('#dashboard')).toBeHidden();
    await expect(page.locator('#username')).toBeEmpty();
    await expect(page.locator('#password')).toBeEmpty();
  });

  test('should show an error message for invalid credentials', async ({ page }) => {
    // 1. Input invalid credentials
    await page.fill('#username', 'wronguser');
    await page.fill('#password', 'wrongpass');

    // 2. Click login button
    await page.click('#login-button');

    // 3. Assert error message
    await expect(page.locator('#message')).toBeVisible();
    await expect(page.locator('#message')).toHaveText('Invalid username or password.');
    await expect(page.locator('#message')).toHaveCSS('color', 'rgb(255, 0, 0)'); // Red color
    await expect(page.locator('#login-form')).toBeVisible();
    await expect(page.locator('#dashboard')).toBeHidden();
  });
});
Interacting with Elements
Playwright offers powerful selectors to locate elements. We’re using CSS selectors like #username and #login-button. Playwright automatically waits for elements to be ready, eliminating flaky tests due to timing issues.
"Reliable E2E tests are the bedrock of agile development. Playwright empowers teams to build that reliability with minimal boilerplate."
Actions like page.fill() and page.click() simulate user input. For more complex interactions, you can use page.keyboard.press() for key presses or page.hover() for hovering over elements. Playwright’s API is incredibly rich and intuitive.
For maintaining clean and reusable test code, consider implementing the Singleton Pattern Explained in JavaScript for test utility classes or page objects. This helps manage instances of browser or page objects, ensuring consistent test environments without unnecessary re-initialization across multiple test files.
Assertions for Robustness
The expect function, similar to Jest’s, provides a wide range of assertions. We assert on text content (toHaveText), visibility (toBeVisible, toBeHidden), and even CSS properties (toHaveCSS). These assertions ensure that not only do actions occur, but the application’s state reflects the expected outcome. It’s how we verify our application behaves correctly under test conditions.
Running Your Tests & Debugging
To run your tests, simply execute:
npx playwright test
Playwright runs tests in headless mode by default. To see the browser during execution, use npx playwright test --headed. If a test fails, Playwright captures a screenshot and a video, which are invaluable for debugging. For more in-depth problem-solving, exploring JavaScript Debugging: Techniques Explained for Devs can further enhance your ability to diagnose issues encountered during E2E testing.
"Debugging an E2E test is an art. Playwright’s auto-retries, traces, and screenshots turn frustrating failures into actionable insights."
Ensuring Responsiveness with Playwright
Modern web applications must look and function flawlessly across various screen sizes. Playwright makes testing responsiveness straightforward. We can define different viewport sizes within our test configuration or even directly within a test file.
In your playwright.config.js, you can set up projects for different devices:
// playwright.config.js
import { defineConfig, devices } from '@playwright/test';

export default defineConfig({
  // ... other configurations ...
  projects: [
    { name: 'chromium', use: { ...devices['Desktop Chrome'] } },
    { name: 'firefox', use: { ...devices['Desktop Firefox'] } },
    { name: 'webkit', use: { ...devices['Desktop Safari'] } },
    { name: 'Mobile Chrome', use: { ...devices['Pixel 5'] } },
    { name: 'Mobile Safari', use: { ...devices['iPhone 12'] } },
  ],
});
Alternatively, within a test, you can explicitly set the viewport:
test('should display correctly on mobile', async ({ page }) => {
  await page.setViewportSize({ width: 375, height: 667 }); // iPhone 8 dimensions
  await page.goto(BASE_URL);
  await expect(page.locator('h1')).toHaveCSS('font-size', '24px'); // Assert mobile specific styling
  // ... perform mobile specific interactions and assertions
});
This approach allows you to verify your responsive design, ensuring elements reflow correctly and touch targets are appropriately sized for mobile users. It’s a powerful way to guarantee a consistent user experience across the entire spectrum of devices.
The Fruits of Your Labor: Interpreting Test Results
After running your Playwright tests, you’ll receive a detailed report. By default, it’s a simple console output, but Playwright also generates a fantastic HTML report. Run npx playwright show-report after your tests complete to view it.
This report is your window into the health of your application. It clearly shows which tests passed, which failed, and provides valuable artifacts like screenshots and videos for failed tests. This visual feedback makes debugging incredibly efficient and allows non-technical stakeholders to understand the issues quickly.
Seeing all your critical user flows pass consistently gives you immense confidence in your deployments. This comprehensive feedback loop is where the real value of automated E2E testing becomes evident, saving countless hours and preventing embarrassing production bugs.
Conclusion: Elevating Your Development with Playwright E2E
You’ve now seen how straightforward and powerful implementing Playwright E2E tests can be. From initial setup to writing robust, interactive test scripts and ensuring responsiveness, Playwright provides a complete solution for safeguarding your web applications. It empowers you to build with confidence, knowing that your core functionalities are always working as intended.
Integrating E2E tests into your continuous integration/continuous deployment (CI/CD) pipeline is the next logical step. This ensures that every code change is automatically verified, catching regressions before they ever reach your users. For complex applications like those requiring a comprehensive Dashboard Design: Analytics UI in HTML, CSS & JavaScript, robust E2E testing is non-negotiable.
Embrace Playwright in your development workflow. It’s more than just a testing tool; it’s an investment in the quality, stability, and future of your web projects. Start small, expand your test coverage, and watch your confidence as a developer soar. Happy testing!